This post may contain affiliate links. Please see my full Disclosure Policy for details.
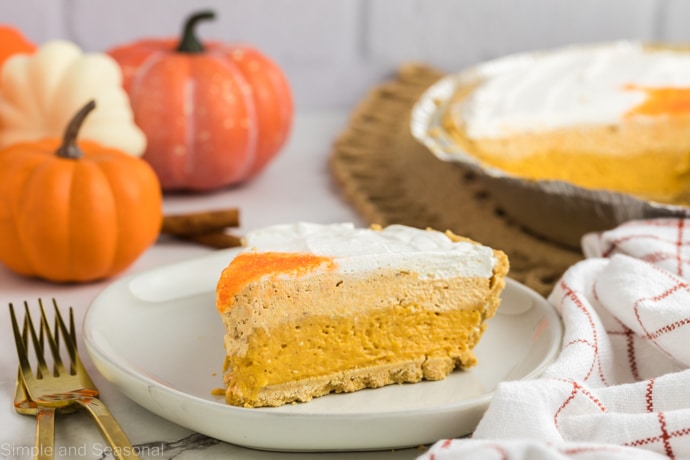
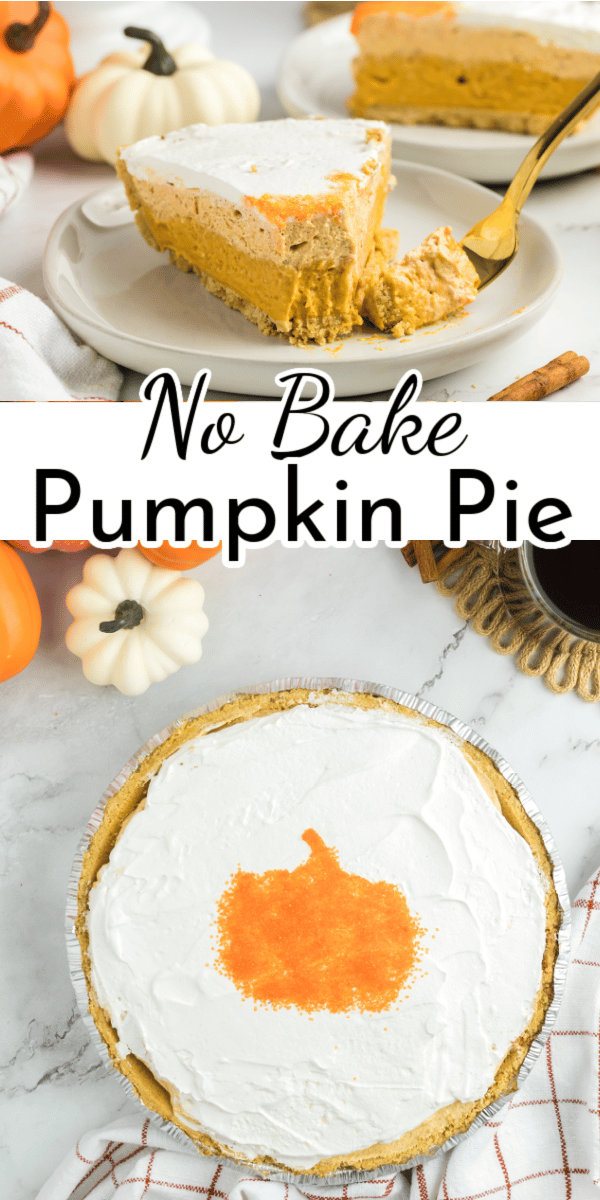
This no-bake pumpkin pie is an easy semi-homemade recipe that wows with its beautiful triple layer design.
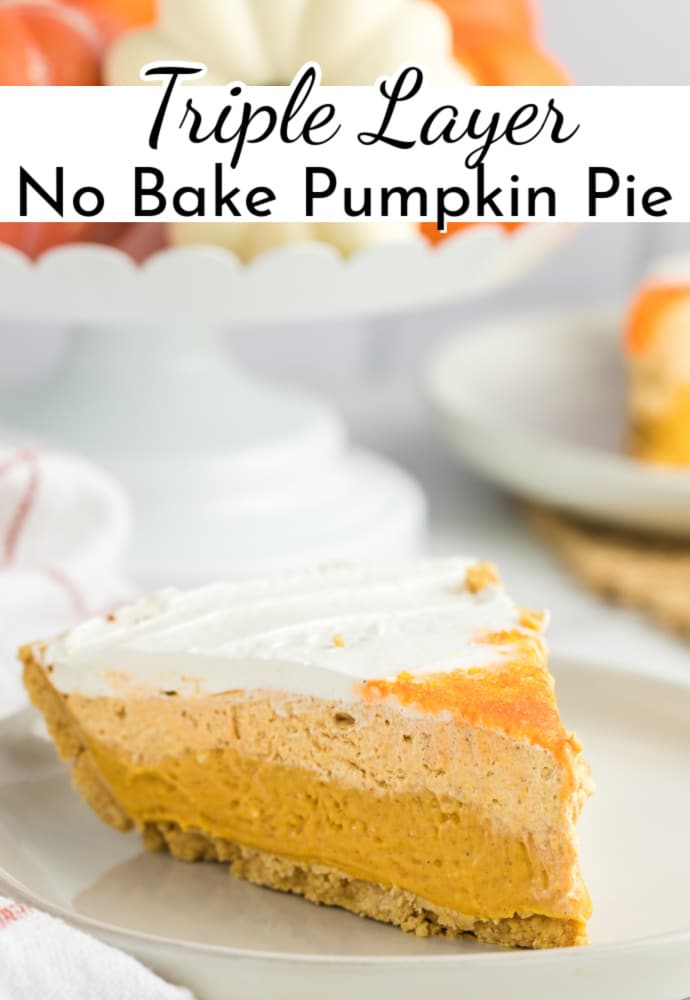
No Bake Pumpkin Pie is a light alternative to heavier traditional pumpkin pie, especially if you’re looking for a pumpkin pie with graham cracker crust.
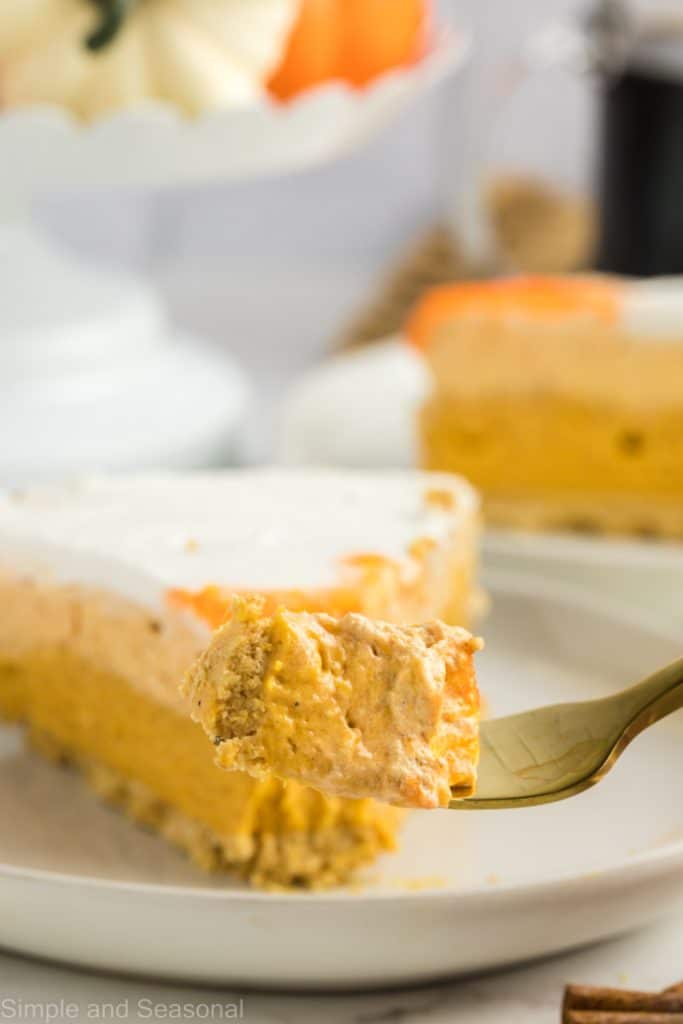
The cream cheese, pumpkin puree and Cool Whip combine for the ultimate light and not too sweet flavor.
If you want the traditional flavors of fall for Thanksgiving (or any other fall occasion) then opting for a no bake pie is a great alternative.
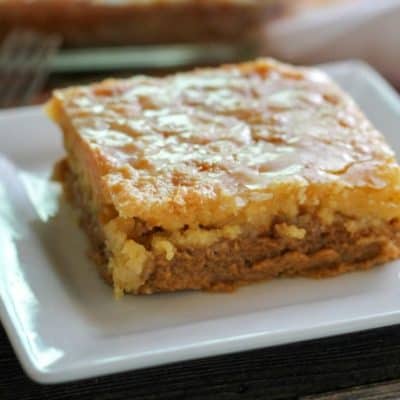
I would also recommend the easy fall dessert, Pumpkin Dump Cake. As the name implies, you just dump a few ingredients into the pan and bake.
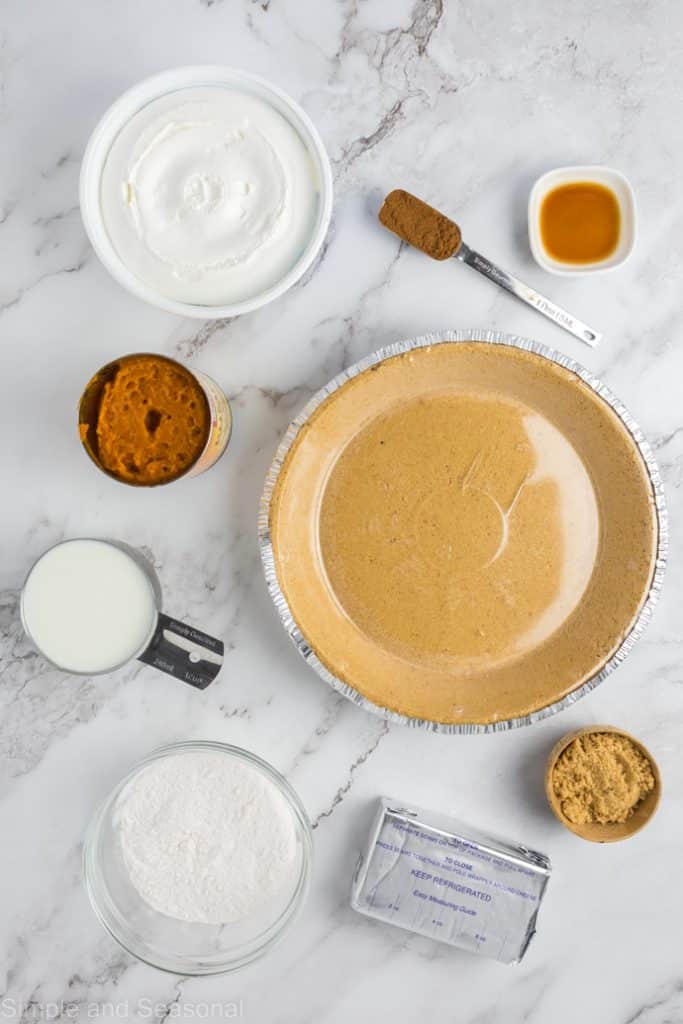
Ingredients needed:
- cream cheese
- milk
- instant vanilla pudding
- pumpkin puree-read how to make Crockpot Express Pumpkin Puree here (pressure cooker recipe)
- pumpkin pie spice-try making your own Homemade Pumpkin Pie Spice!
- brown sugar
- vanilla extract-I LOVE to use Mexican vanilla for an extra punch of flavor
- whipped topping (not whipped cream)
- graham cracker crust–go easy on yourself and use a store-bought crust, or go for big flavor and make your own! Here’s how to make a no bake graham cracker crust for that homemade flavor.
Note: this pie crust is the larger 10″ graham cracker crust. If you don’t use a larger pie plate/crust you will have leftover pie filling. If that’s the case, just eat it up like pumpkin pie dip instead!
Tip!
Leave your cream cheese out on the counter for at least 2 hours to make sure it’s perfectly soft and will blend well. If it’s too cold, you’ll end up with a lumpy pie!
Instructions for No Bake Pumpkin Pie
1. Make the first layer.
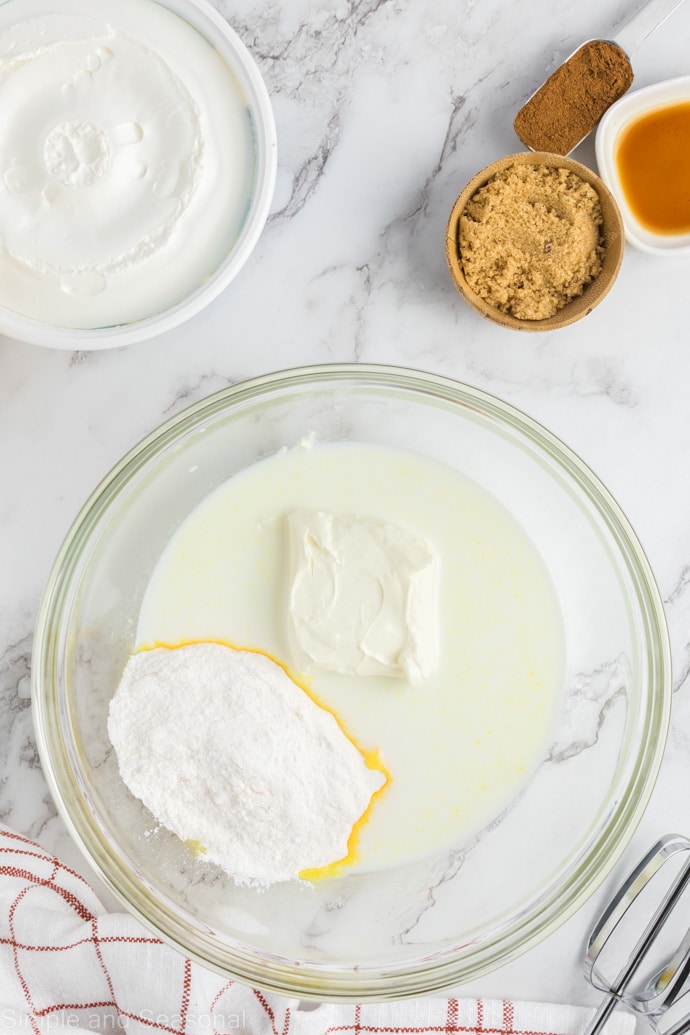
Combine the softened cream cheese, milk, and instant pudding mix into a bowl. Mix until smooth.
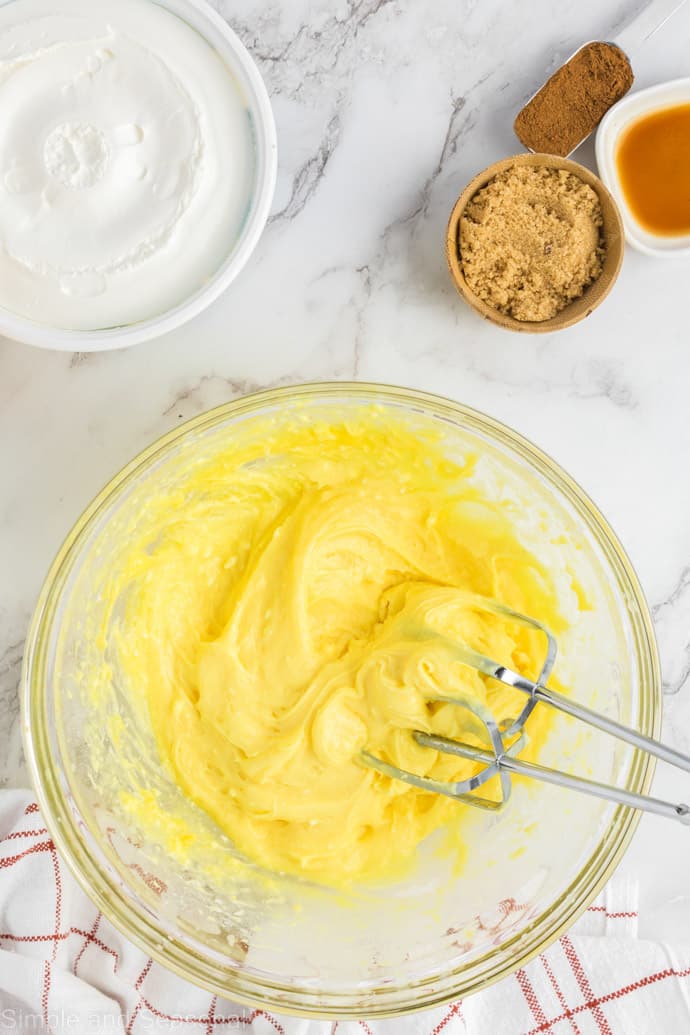
Add half of the pumpkin puree, half of the pumpkin pie spice, vanilla extract, and 3 tsp of brown sugar to the soft pudding mixture. Mix until smooth.
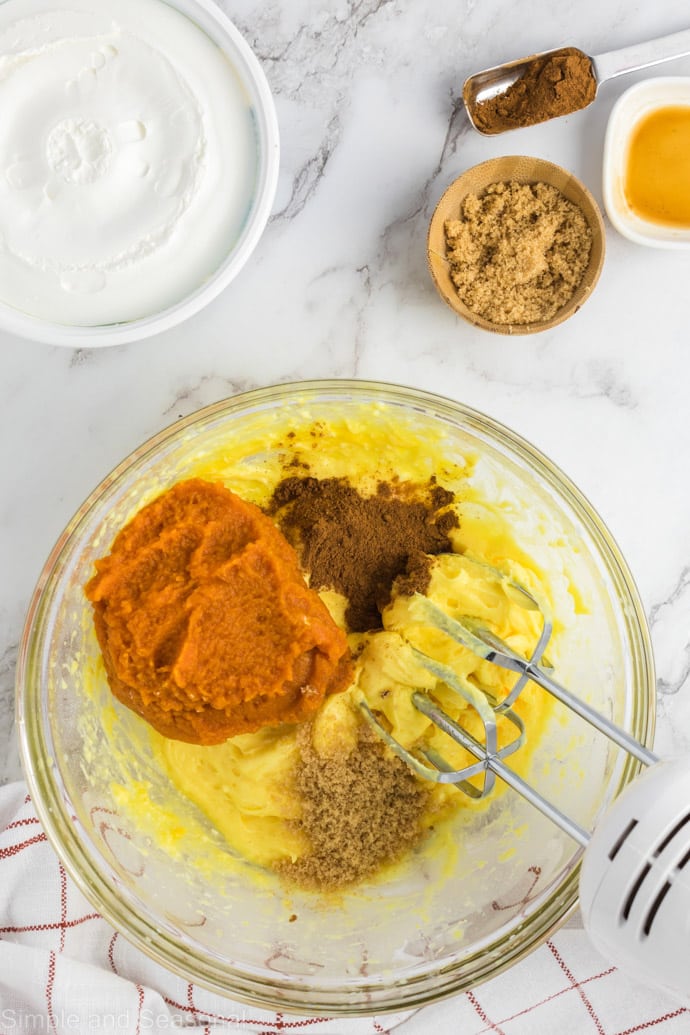
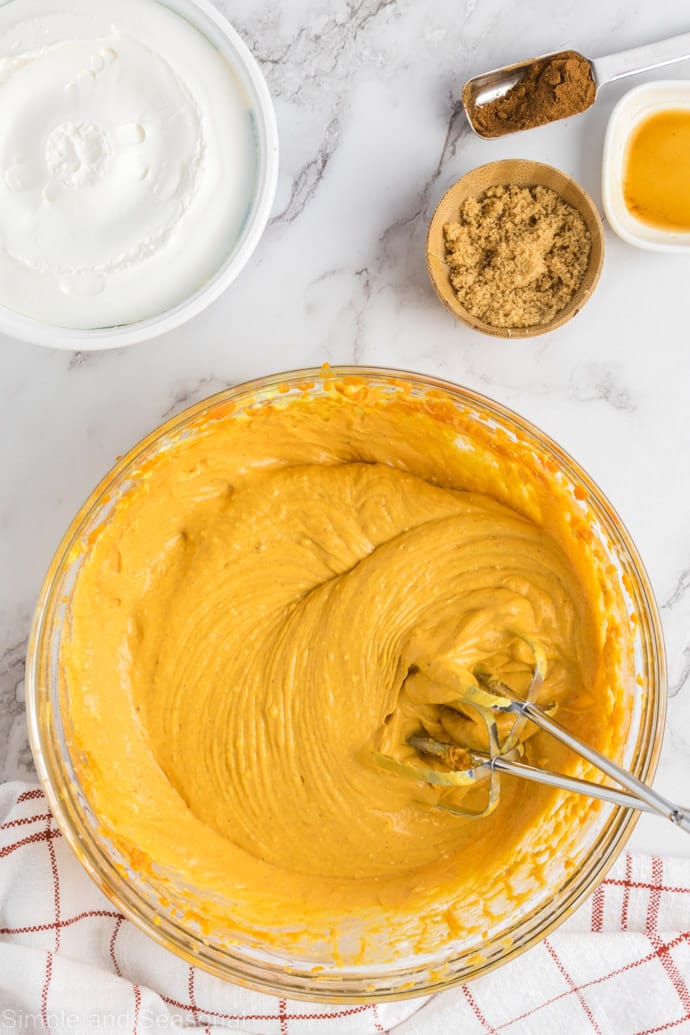
Spoon all of this mixture into the graham cracker pie crust and smooth the top with the back of a spoon. Ensure the top is as even as possible.
2. Make the second layer
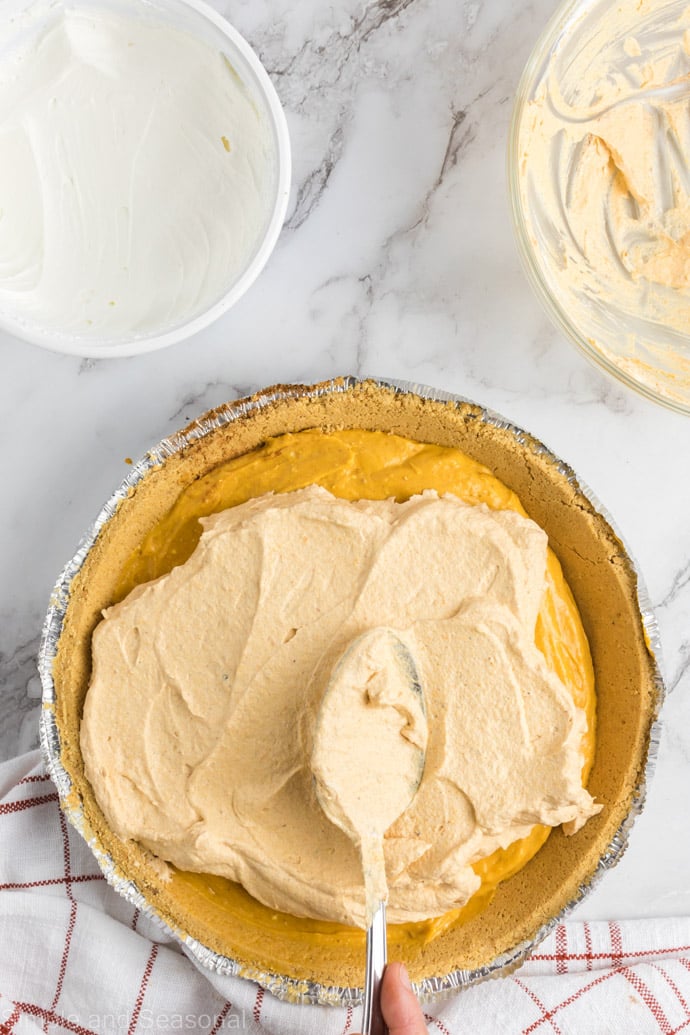
In a new bowl, add half of the Cool Whip, the remainder of the pumpkin puree, pie spice and brown sugar. Fold together until combined. Don’t overmix this layer, or it will lose its light and airy texture.
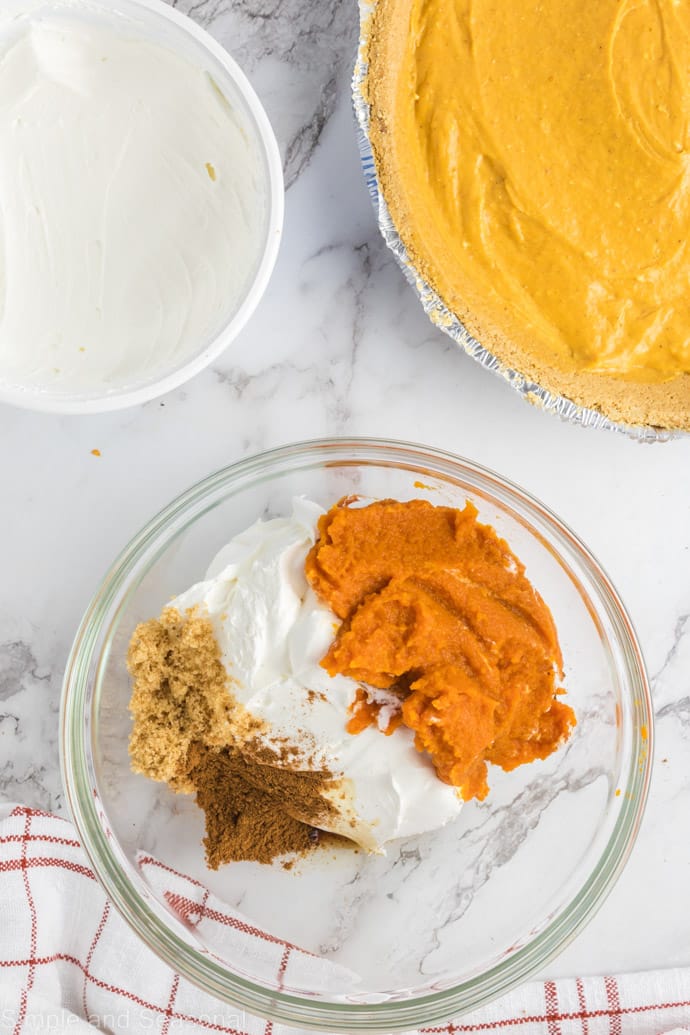
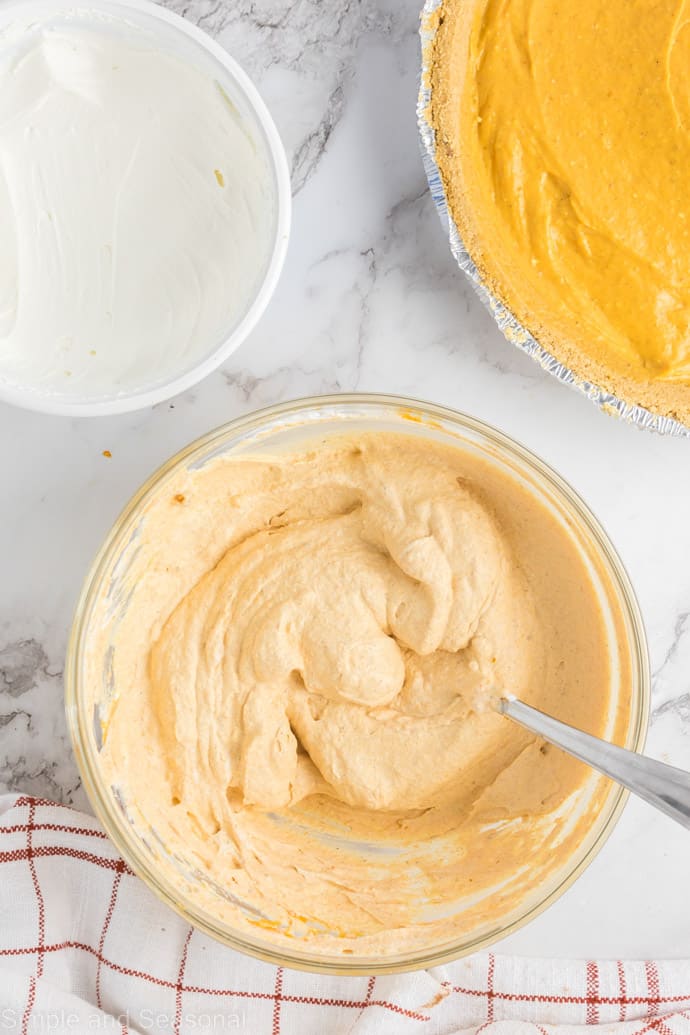
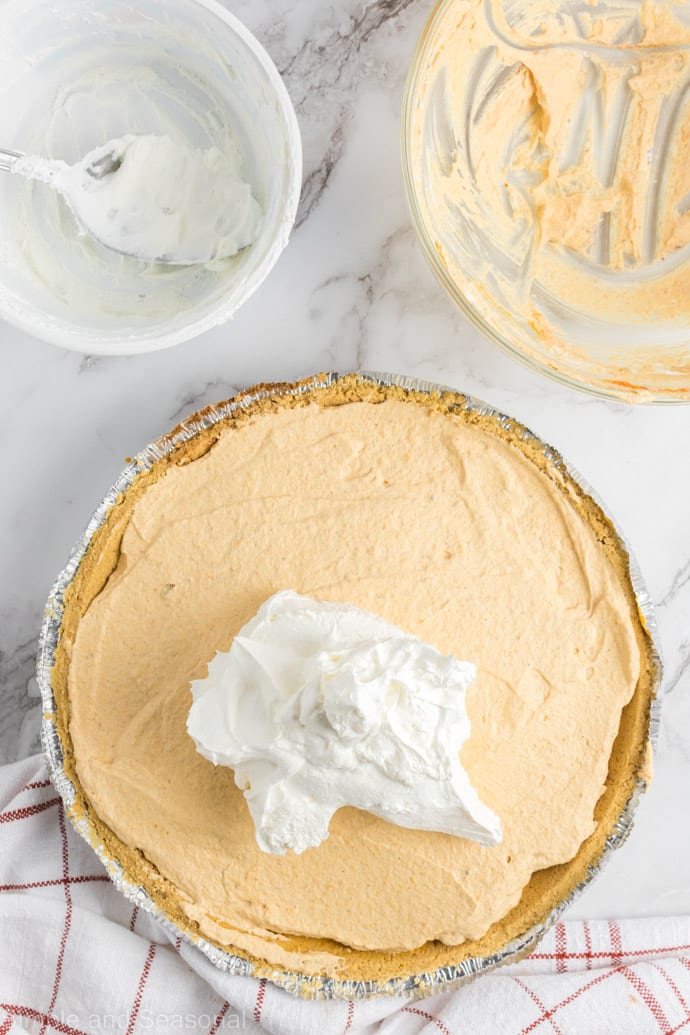
Spoon the second layer of the no bake pumpkin pie over the first pudding and cream cheese layer. Level it out and then add the final top layer using up the rest of the whipped topping.
Chill for at least 4 hours (overnight is better) before serving.
3. Decorate the top layer
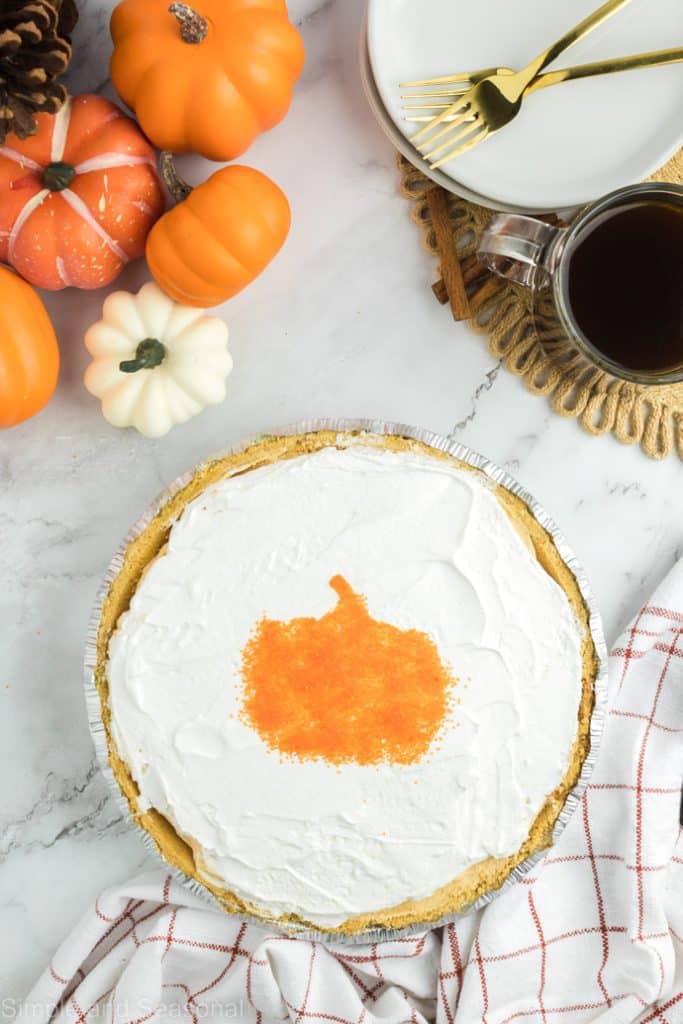
After chilling, an optional decoration idea is to use decorating sugar to make a design on top. Print the PDF below on cardstock. Click on the pumpkin image to download it.
Cut it out, ensuring you start cutting from the center of your paper so it’s just the design that is hollow.
Next, hold the cardstock as close to your pie as possible. If it touches some of the edges it’s ok. Use your fingers to sprinkle the sugar inside the design.
When close to the edges of your design be sure to sprinkle from directly over top so it lands correctly on your pie and not outside of the design.
Frequently Asked Questions and Tips.
Can I add the decorating sugar before I chill the pie?
Yes, you can but it will bleed and fade some which is why it is recommended to wait until it’s time to serve before adding it.
Can I use pumpkin pie mix instead of pumpkin puree?
It is recommended to stick to any brand of pumpkin puree. The flavors and spices in a pumpkin pie mix could cause the flavors of this pie to be too intense.
Can I freeze No Bake Pumpkin Pie?
You can freeze the pie but it does slightly change the texture of the pudding mixture. If you choose to freeze the pie, place it in the refrigerator for 8 hours before serving it to thaw.
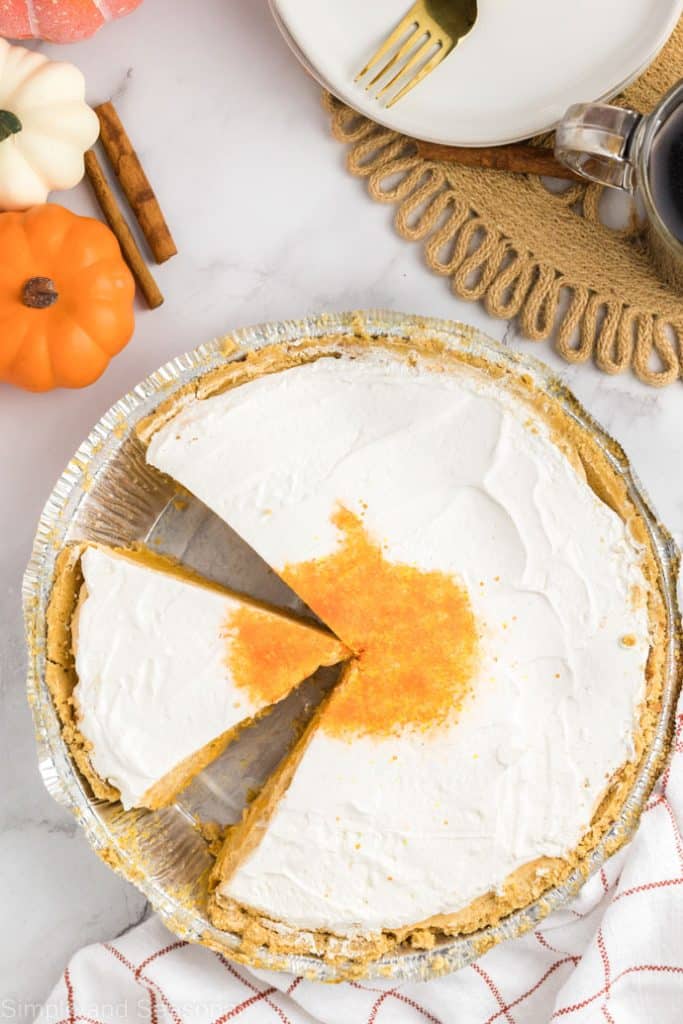
My pie pieces are not coming out very clean, what can I do?
First, try to ensure that your graham cracker crust is not broken when you begin using it. Second, ensure that you use a sharp knife and cut all the way through the crust of the piece you are trying to remove.
After cutting the pie use a pie server to lift it out. This ensures the entire piece is supported and less likely to fall apart when being removed.
Lastly, the first piece can be super tricky but the following pieces get easier. After removing the first slice, bring the pie server in from the side (slide it under your piece) to support the back crust and reduce breaking.
My sugar sprinkles went everywhere when I sprinkled them over my stencil, what can I do?
There are a few things you can do to fix this. First, if you have extra cool whip, lightly scoop just under the sprinkles and re-smooth your cool whip top to give yourself a fresh start.
Second, don’t be afraid to hold your stencil super close to the top layer of Cool Whip. If it touches the edges you can just smooth them out after.
Third, ensure you are using cardstock or tape your paper to cardboard before cutting. You need something firmer than regular printer paper that bends easily and won’t hold shape as you sprinkle.
Other delicious pumpkin desserts you might like:
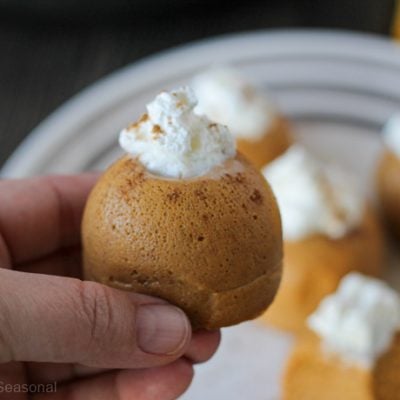
- Crockpot Express Pumpkin Pie Bites
- Pumpkin Bread with Chocolate Ganache
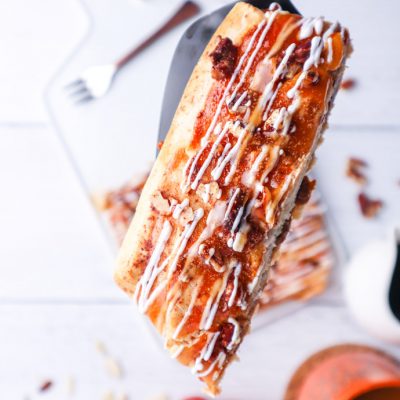
- Pumpkin Maple Danish
- Crockpot Express Pumpkin Cake
- Traditional Pumpkin Roll
- Pumpkin Sheet Cake
- 3 Ingredient Pumpkin Cookies
- Pumpkin Pie without evaporated milk
No Bake Pumpkin Pie
Ingredients
- 4 oz. cream cheese softened
- 2 cups cold milk
- 1 5.1 oz instant vanilla pudding box mix
- 1 can (15 oz) pumpkin puree divided
- 1 Tablespoon pumpkin pie spice divided
- 1.5 Tablespoons brown sugar divided
- 1 teaspoon vanilla extract
- 1 tub (8 oz) whipped topping thawed
- 1 large graham cracker crumb crust 10" (9 oz)
Instructions
- 4 oz. cream cheese, 2 cups cold milk, 1 5.1 oz instant vanilla pudding box mixCombine cream cheese, milk, and pudding mix into a bowl. Using an electric mixer, mix the ingredients until they are combined. The mixture should resemble soft pudding.
- 1 can (15 oz) pumpkin puree, 1 Tablespoon pumpkin pie spice, 1 teaspoon vanilla extract, 1.5 Tablespoons brown sugarAdd half (1 cup) of the pumpkin puree, half (½ TBSP) of the pumpkin spice, all of the vanilla extract, and 3 tsp of brown sugar to the soft pudding mixture. Using the mixer again, mix ingredients until they are combined.
- 1 large graham cracker crumb crustSpoon all of this mixture into the graham cracker pie crust and smooth the top with the back of a spoon. Ensure the top is as even as possible.
- 1 can (15 oz) pumpkin puree, 1 Tablespoon pumpkin pie spice, 1 tub (8 oz) whipped topping, 1.5 Tablespoons brown sugarIn a new bowl add half of the cool whip (½ cup), the remainder of the pumpkin puree, remainder of the pumpkin pie spice, and remainder of the brown sugar. Using a spoon mix these ingredients until combined and the color is even throughout.
- Spoon all of this mixture onto the first soft pudding mixture in your pie crust. Smooth the mixture out as evenly as possible, spreading it to the edges of the pie crust.
- Spoon the remainder of the Cool Whip onto the top of the pie. Again smooth this mixture out as evenly as possible to all edges of the pie crust.
- Chill in the fridge for at least 4 hours but ideally overnight.
Notes
- It is important to to not over mix the cool whip mixture for the middle layer as this will cause it to be less light and fluffy.
- It’s important to remember to take your cool whip out of the freezer the day before making this or it will not spread correctly.
- Note the size of the graham cracker crust is a 10 inch which is the larger size. Using a smaller size is fine but will result in more filling being left over.
Nutrition
- S’more Cookie Bars - May 30, 2025
- Toffee Apple Dip - May 27, 2025
- Kool-Aid Pie: easy no bake recipe - May 6, 2025


Wendy Hampton says
What an absolutely wonderful dream of a pie. Light, fluffy and soooo much flavor. I had tasted something like this years ago and was never able to recreate it. I am saving this in my Pinterest “Heirloom file” and printed to add to our family’s printed cookbook so i NEVER lose it! Thank you so much for sharing this lovely dessert. Can’t wait to make it again for Thanksgiving dinner!
Nicole Burkholder says
I’m so glad you loved it! What a great idea to save it for future family meals 🙂 I hope you enjoy it again and again. Thanks for leaving a rating/review!