This post may contain affiliate links. Please see my full Disclosure Policy for details.
This year, I started a homeschool co-op group with several other families in our church. We meet every Thursday morning for thirteen weeks to have chapel, P.E. and class time. Last semester we covered science topics and this semester we are studying the states. The older kids are covering all 50 states and will have a personal notebook full of information about each one when we are done. Fifty states was a bit intense for the younger class (4-6 year olds) so they are only studying one state per week. I chose ten states to highlight based on either their location, history, landmarks or interest to us in general. Last week we studied California (since that’s where we live and it’s obviously the best state in the nation) and this week we covered the great state of Texas. Along with the studies, I like to choose an activity that reinforces what was learned in class. For the older kids this week, we made Watercolor State Art.
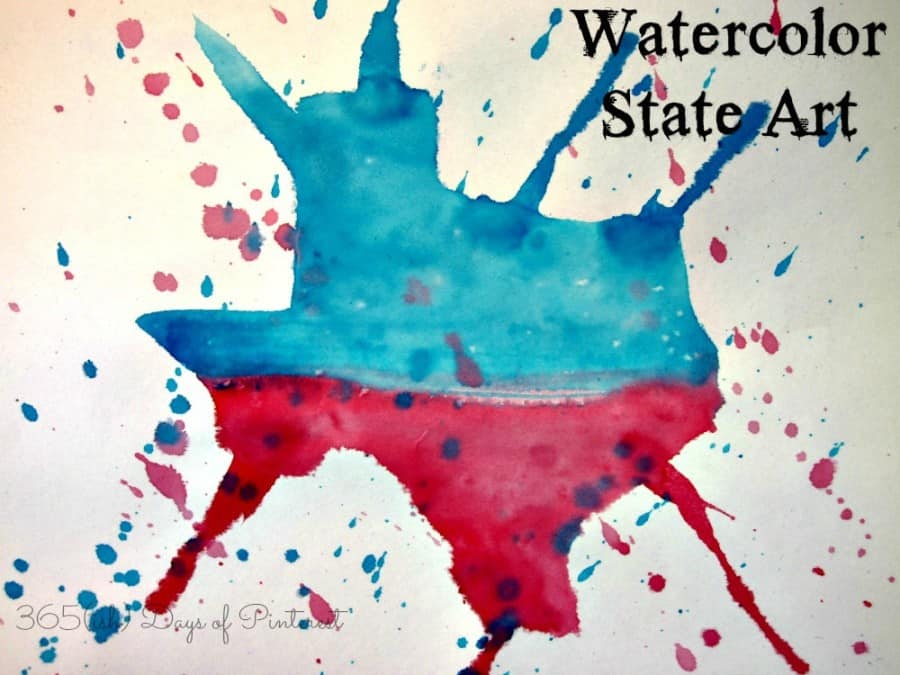
Seriously, I’m NOT an artsy type of person, but I think my version of Texas came out pretty well! 🙂 I found a great tutorial here and followed her basic steps. I’m not going to open an Etsy shop any time soon, but it was fun and easy for the older kids to do.
Watercolor State Art
What you’ll need:
- Outline of your state- I found several free options online, but when I tried to print them, the demons of hell possessed my printer and it refused to cough up the goods. So, in desperation, I took a sheet of printer paper, held it up to my laptop screen and traced the outline with a Sharpie. I fit two on a page and then copied that paper onto card stock so it would hold up better as a template.
- Watercolor paints
- Brushes
- Water
- Table salt
What to do:
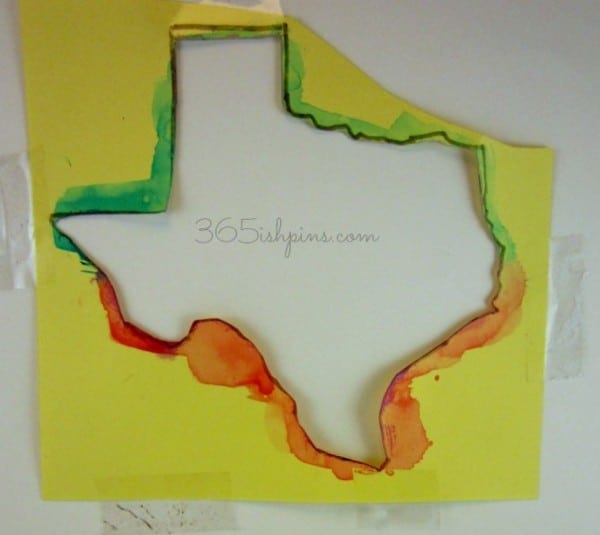
Cut out the state template and tape it to your paper. We used regular white construction paper as our “canvas.” You can either cut out the state and then paint all the white around it, leaving a colorful page with a clean white state outline, or you can cut out the inside of the template like this:
Second, choose whatever colors you would like (at least two) and fill the space! The wonderful thing about watercolor is there’s no need for clean edges and uniformity. You want lots of different swirls and drips and textures. If you want to, add a couple grains of salt to the most wet areas of your painting. This will dry the water around them immediately and gives a cool dotted effect. If you look in the blue section of the state above, you can see some of the white spots here and there where I put the salt. (Just brush off the salt after the painting dries.)
When you are done coloring in the state, remove the template and check out your work! Now is the time to take advantage of any bleed at the edges. Dab some extra color blobs there and blow on them to make them burst across the page. If you want even more “mess” you can saturate a brush with paint and run your finger along the bristles to fling paint splatters across the page.
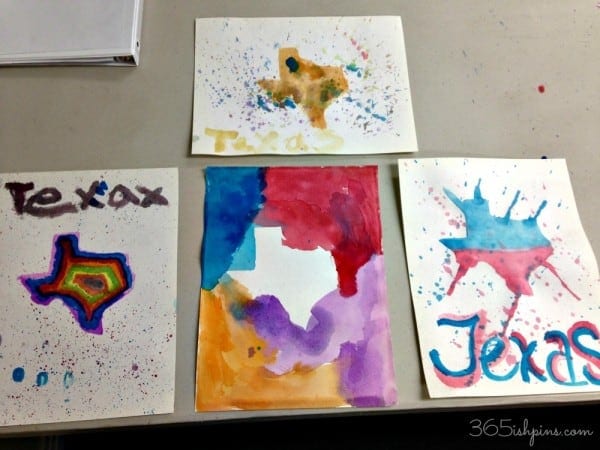
The fun thing about art is the fact that you can take the same supplies, give the same assignment and get such unique results!
- Lemon Shake Ups - January 16, 2025
- Chocolate Orange Cookies - November 2, 2024
- Nutella Banana Bread - October 14, 2024


Sandra Wilkes says
Very cool! I am going to do this myself. No kids. Just me. I think I will do a whole series of them. Thanks for the idea.
Nicole Burkholder says
I really enjoyed doing it, too! You could do each state with the colors of its flag 🙂 Good luck!
Elizabeth says
This looks like lots of fun! I’m going to Pin it to my homeschool board. 🙂
Nicole Burkholder says
We had a lot of fun. The paint “flicking” makes a bit of a mess, but it’s all watercolor, so it cleans up easily.
Tammy says
Just want to say, that rainbow one is my favorite. 🙂
Nicole Burkholder says
I thought it was really nice. 🙂 Very creative!