This post may contain affiliate links. Please see my full Disclosure Policy for details.
These are my top ten tools for spring cleaning. I don’t know about you, but I need all the help I can to get the job done!
If I could afford it, I would hire someone to clean my house every week. I really hate cleaning. I used to do a much better job keeping my house clean before kids, but now I feel like I spend every week just keeping my head above water.
Don’t get me wrong, we don’t live in a pigsty or anything, but I just never seem to get the whole house clean all at the same time! However, every spring and fall, I get a burst of new energy and the desire to tackle some of those “odd” tasks that build up over time.
So here are my top ten tools for spring cleaning that will make the chores just a little bit easier.
1. Clean window and door tracks with vinegar and a cotton swab.
Over time, dirt, grease and grime build up in those tracks. Aside from just being generally nasty, it makes it difficult to open and close the windows and sliding doors.
To clean them quickly and easily, first vacuum the tracks to remove loose dirt, and then take a cotton swab soaked in white vinegar and run along the surface a few times.
2. Dust ceiling fans with an old pillowcase.
This is one of the best tips I’ve ever used from Pinterest. The messiest part of dusting a ceiling fan is dealing with the piles of dust that start raining on your head as soon as you touch them with a dusting rag.
The easier solution is to take a pillow case, drape it over a fan blade and then pull it back towards you, trapping all the dust inside the case. When you’re done, just toss it in the washer!
3. Drag a rubber squeegee across the carpet and furniture to quickly pick up pet hair.
If you have a hairy pet, this isn’t something that you really do as “spring” cleaning. You should probably be doing it every day. 🙂 But it is a handy tool to have, and it also makes doing windows and glass shower doors a lot easier!
4. Wash the floors with a heavy-duty cleaner to cut grease and grime.
This DIY solution for mopping the floors is inexpensive and perfect for the kitchen floor. It’s NOT recommended for wood laminate floors (I just took the picture on my kitchen floor), but it will clean tile floors beautifully and doesn’t leave the scent of vinegar in the air after it dries.
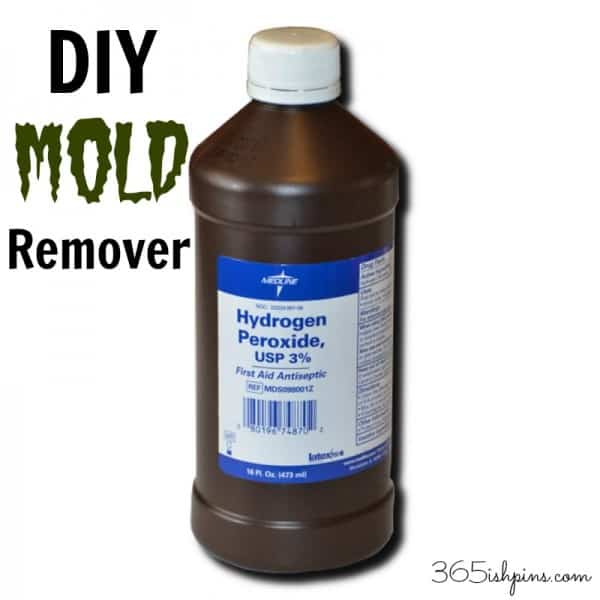
5. Remove the mildew and mold in the bathroom corners with hydrogen peroxide.
To be honest, I’m not entirely certain what is growing up in the corners of my bathroom over the shower enclosure. I’m assuming it’s mildew. Even though I always run the exhaust fan and there’s a window in the bathroom, the steam and moisture buildup in there just sits on the walls and grows these lovely black patches.
I used to scrub and brush at it with cleaners with little effect. Then one day I used a mixture of hydrogen peroxide and water in a spray bottle and the spots just wiped clean! I couldn’t believe I had been doing it the hard way for so long!
Mix 1/2 cup hydrogen peroxide with 1 cup water and put it in a spray bottle. Spray down all the corners and let it sit for one hour. After an hour passed, wipe down the walls with a wet rag.
6. Use wax paper to line the top of cabinets, making cleanup easier next time.
That dead space up above the cabinets in the kitchen or on top of the random empty niches in the house is a magnet for dust, grease and grime. After getting them clean the hard way, line them with wax paper. The paper will attract dust and grease, and in three months you can just crumple up the paper, throw it away and replace it!
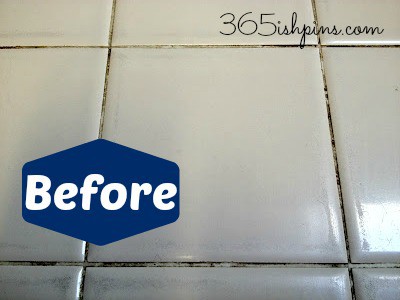
7. Whiten tile grout with vinegar.
My kitchen counters are tiled. I HATE them. They look dated and they are always grimy and dirty because the grout just won’t stay clean. I have used bleach in the past to get it white again, but I know that it will just keep eating away at the grout and creating more holes for the dirt to fill.
So I figured there was nothing to lose when I tried white vinegar instead. Believe it or not, it worked like a charm! You should see my before and after photos!
8. Wash and whiten pillows in the washing machine and dryer.
Yes, the washer and dryer. You can totally wash your pillows! Well, almost all pillows. Read the tag from the manufacturer to be certain. All the sweat, dead skin, grease, and drool (yes, we know YOU don’t drool- just your husband) soaks into the pillow and that’s just gross. Then over time the stains turn yellow. Ick.
Read How to Wash and Whiten Pillows, I give detailed step-by-step directions with photos. If you haven’t washed yours recently, add it to the To Do list!
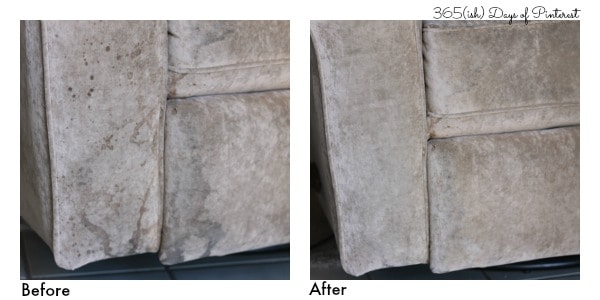
9. Get stains off microfiber furniture.
- Spray bottle
- Rubbing alcohol
- White rag or sponge
- Stiff brush
- Either pour some rubbing alcohol into a spray bottle, or just screw the spray pump directly onto the alcohol.
- Lightly spray over the soiled area until it’s damp to the touch.
- Scrub gently with a white rag or sponge. Don’t use a colored sponge because it may bleed onto your fabric.
- Allow to dry completely (about 20 minutes) and then brush lightly.
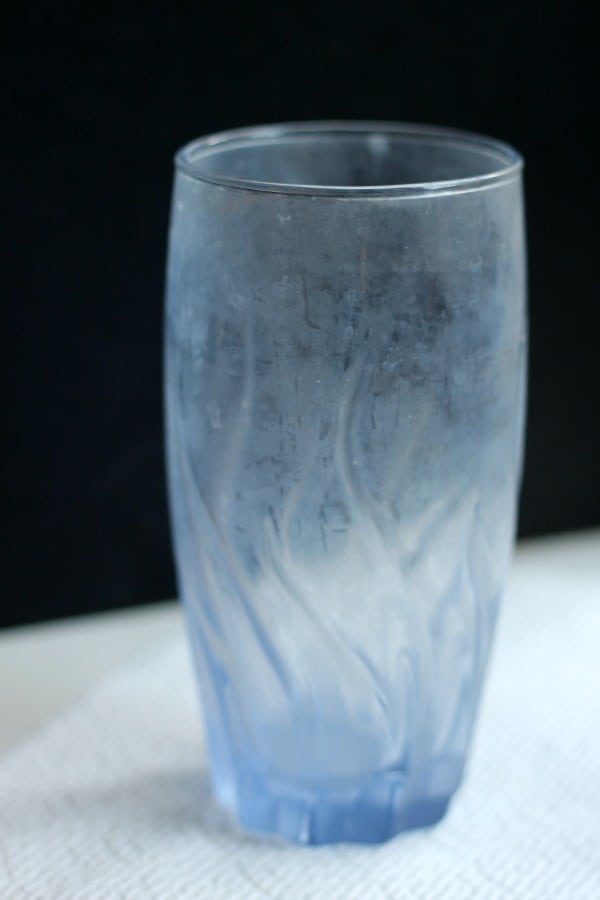
10. Clean and shine glassware with vinegar
White vinegar really is a multi-tasker! My glasses get so cloudy. They come out of the dishwasher looking worse than they went in. I know they are clean, but the calcium deposits from the water make them look awful.
Some white vinegar and elbow grease got them clean, but to keep it from getting this bad again, use a quality dish detergent and a rinse aid! Another trick is to turn off the heat dry in your dishwasher. That keeps water spots and calcium deposits from getting dried onto the glass. You can read more about how to clean cloudy glassware here.
PS-I shared my top tools with you, but I’m super curious- what do you like to use for the odd spring cleaning tasks that you tackle this time of year?
This post was originally sponsored by Finish.
- Tex-Mex Casserole - February 17, 2026
- Rank Your Favorite Christmas Movies - December 10, 2025
- Hot Cocoa Spoons - September 22, 2025


Amanda says
Here’s my tip! Keep your microfiber towels in good shape by only washing them with other microfiber. If you wash them with cotton or other materials, it ruins them. I learned the hard way. Hang or lay flat to dry. Having tools in good shape makes cleaning less frustrating!
Nicole Burkholder says
Interesting! I had no idea-maybe that’s why I hate my microfiber towels. I’ll have to buy a new set and try this tip. Thanks!