This post may contain affiliate links. Please see my full Disclosure Policy for details.
If you own a Keurig coffee brewer, you need to know how to deep clean a Keurig! It will add to your coffee maker’s life and even help your morning cup taste a little better!
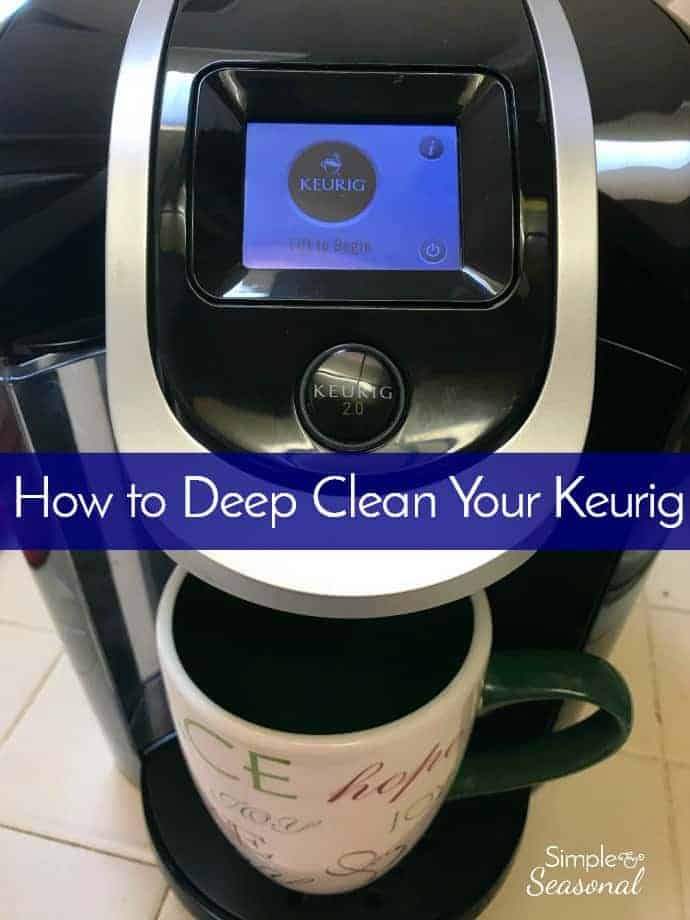 A few years ago I got a Keurig 2.0 for my husband. Back then, I was not a coffee drinker, and he didn’t drink enough to warrant making a full pot every morning, so the Keurig was a perfect solution for us.
Fast forward a couple years, and I’m all grown up because now I really like coffee. 🙂 Now our Keurig gets a regular workout and sadly, not regular enough cleaning. Over the holidays, I pulled it apart and took pictures so I could share how to deep clean a Keurig with you!
How to Deep Clean a Keurig
- Pull out all removable pieces for washing
- Wipe down machine with cleaning solution
- Descale
- Change water filter
- Keep reading for detailed instructions 🙂
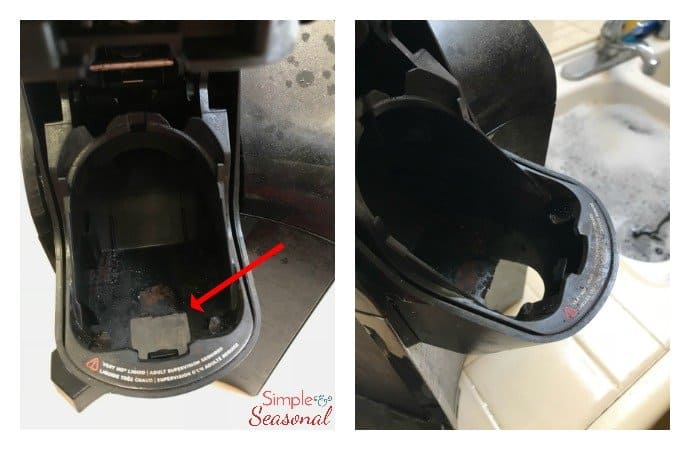
We regularly throw the drip tray in the dishwasher, but I’ve hardly cleaned the inside pieces. Oops! The first thing to do is pull everything off and throw it in the sink to soak in some soapy water.
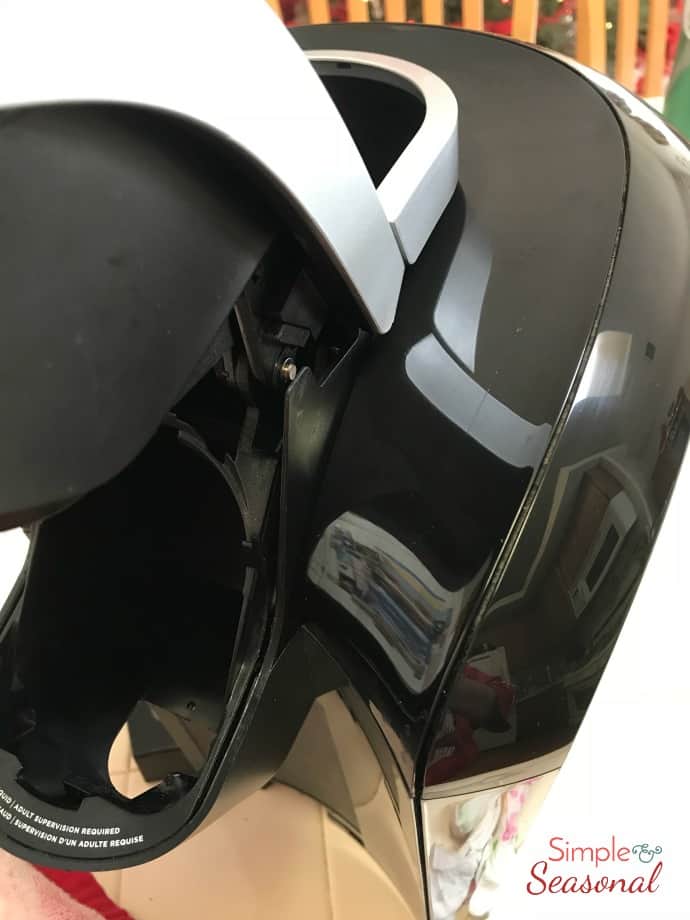
On a Keurig 2.0, there are two pieces in the brewing tray. After you pull out the tray that the pods sit in while brewing, there’s another tray underneath (pictured above.) Lift that out and toss it in the sink with the rest of the pieces.
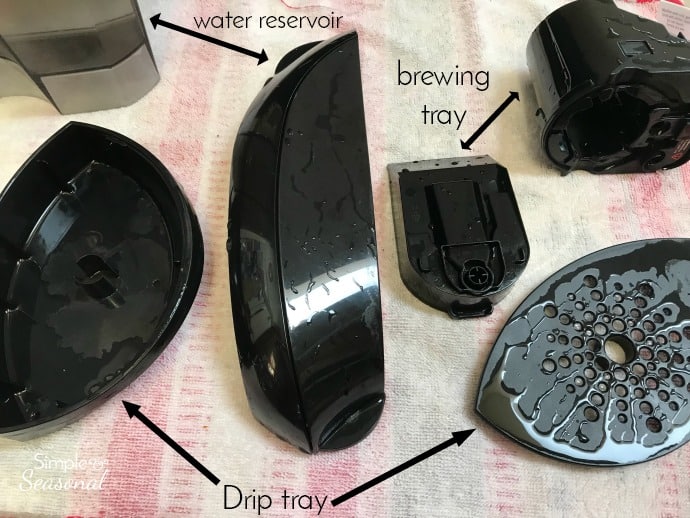
While the pieces are soaking, wipe down the outside of the Keurig thoroughly with a mixture of white vinegar, water and dish soap. I used the same bottle/solution that I use to clean my wood laminate floors.
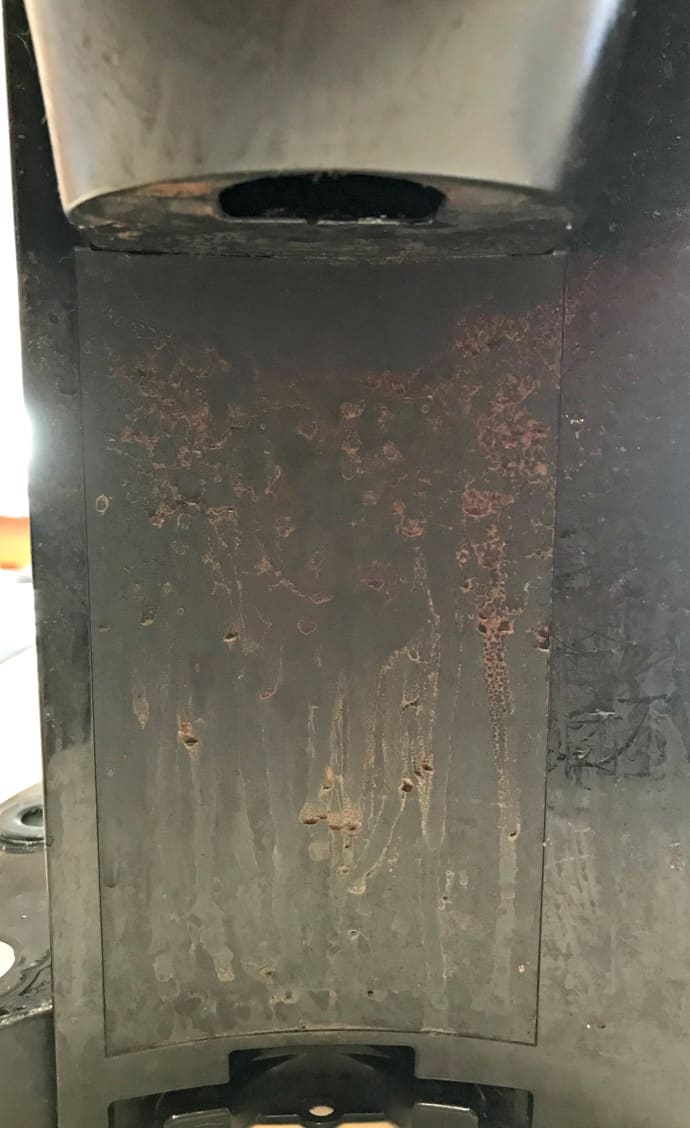
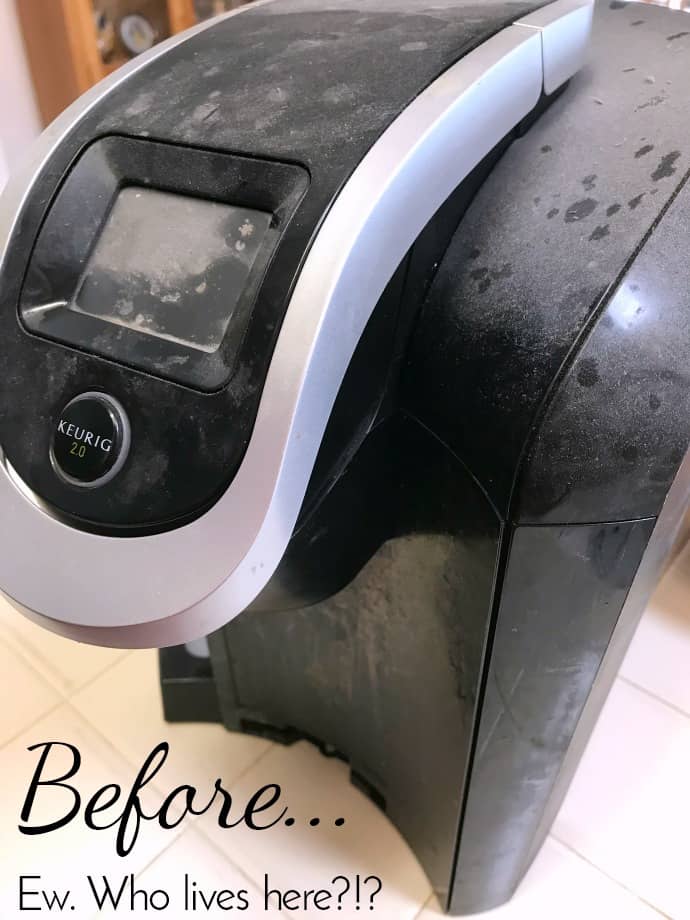
OK, in my defense, we have a tiny corner where ALL my kitchen plugs are located, and it’s right next to the stove. So I get grease splatters all over my knife block, Keurig, toaster, etc. The dust is attracted to the grease and it turns into this sticky grossness that won’t just wipe off with a damp sponge.
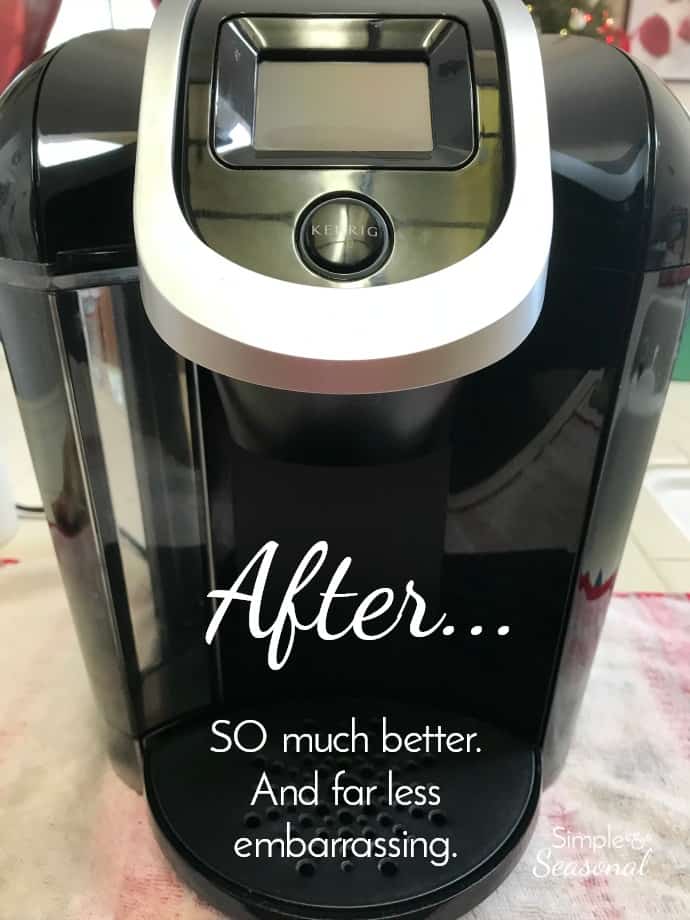
That said, this is still pretty icky. I’m a little embarrassed to show this to you. Here’s a handy tip: use OIL to clean greasy dust off kitchen appliances. Yes, oil! I used olive oil.
It cuts through the grease and makes the surfaces smooth so there’s nothing for the dust and grime to cling to anymore. Plus, when you’re done it’s all shiny and beautiful!
The last thing you need to do for a thorough cleaning is to “descale” the brewer. To do this, put the Keurig back together and pour 2 cups of white vinegar in the water reservoir.
Then, fill it up the rest of the way with water and run that entire tank through by dispensing hot water. It takes a while because you can only do 6 ounces at a time, but, it’s worth it!
Once the first tank of vinegar water is empty, fill it up with water only and run it through again to completely wash away the vinegar. Trust me, you do NOT want that first cup of coffee in the morning to taste like white vinegar! Once that is done, you’re finished.
One final thing to mention: if you have an in-tank water filter, this would be the time to change the filter cartridge as well. I don’t know how long I spent looking on You Tube and Pinterest for an answer to my question before I realized: the Keurig does not come with a filter. You can order one here, though.
Every few months I would get a message on the screen telling me it was time to change the water filter. I finally broke down and ordered filters on Amazon, but then I couldn’t figure out where to put it the dumb things!
I pulled the entire machine apart and looked for a slot somewhere but I couldn’t figure it out! I kept reading tutorials that would start with “remove the filter from the tank and then pop off the cartridge.” I was yelling in my kitchen, “WHAT FILTER??!!! WHERE?!” Hahahaha.
Turns out, those messages are just pre-coded into the Keurig to go off every 3 months. So now I own a box of filter cartridges with no actual filter to hold them. Oops. At least we all know how to deep clean a Keurig now. 🙂
Don’t forget to pin How to Deep Clean a Keurig for later!
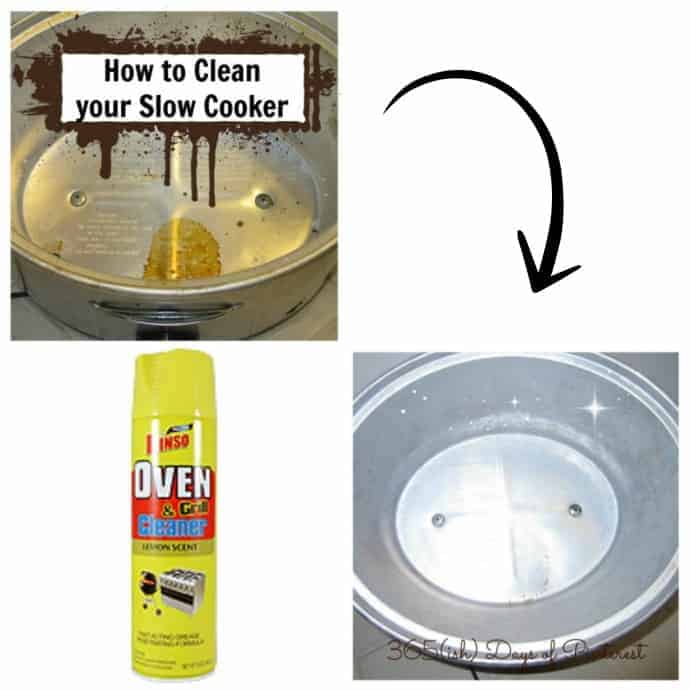
While you’re doing some deep cleaning in the kitchen, you might as well tackle your slow cooker, too! Check out my most popular post EVER–how to clean your crockpot
- Rank Your Favorite Christmas Movies - December 10, 2025
- Hot Cocoa Spoons - September 22, 2025
- Pecan Upside Down Cake - September 16, 2025


Becky Kraft says
Thank you for this tutorial. I regularly clean and rescale but never knew those k cup holder parts came out. Mine were disgusting. They are soaking now and anxious to try a good cup of coffee again. Thanks again.
Nicole Burkholder says
You’re welcome! You’ll be thrilled with how much better the water flow is when it’s all cleaned up 🙂
Maryann says
After reading all these tips I found out my 2.0 had no filter when purchased. Thought the same thing, WHAT FILTER!!! Thanks I’ll buy some now ❤️ But I had been taking mine apart and deep cleaning. It was those filter messages that drove me crazy!!
Nicole Burkholder says
Right?! I thought I was going crazy! WHERE IS IT?!? 🙂 haha! Now you know, at least!
Mary Jordan says
Love this
Judith loza says
Lol lol I will buy them from you nickel mine has needed a filter change since……… ? Let’s just say it needs to be changed. Love this I did it and just realized I get more coffee now. Since it’s clean it makes more coffee I knew I was riight . I told manuel, this machine is not making coffee like it used to. It’s only making half of the cup? Duh!! It was dirty.
Thanks girlie your the best.
Nicole Burkholder says
Ha! So you have the filter that sits in the tank, then? Because I just have the little white “ice cube” looking thing that goes on the filter. And yes, you get WAY more coffee when it’s not all clogged up with dried grounds 🙂