This post may contain affiliate links. Please see my full Disclosure Policy for details.
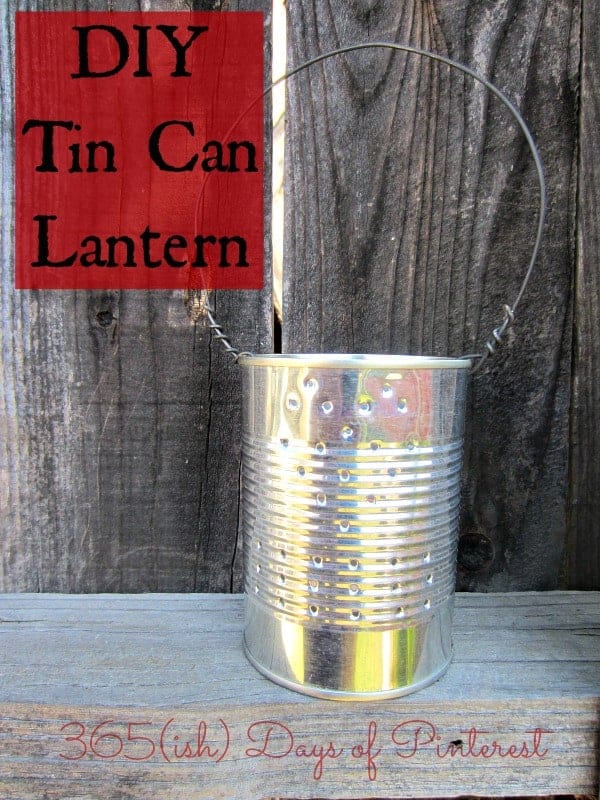
Today in our homeschool co-op, we studied the state of Virginia. This led to a study of Jamestown, the first successful English colony. I searched and searched for something interesting to do with the kids relating to colonial life, and came up with these DIY Tin Can Lanterns. They are actually quite easy to make and would be so cute as hanging decor for an outdoor party. I’m certainly glad we don’t have to use something like this as our actual source of light in our homes! 🙂
I did this project with the older kids (Ages 8-18) because it was a little labor intensive for the little ones. Plus, I don’t really trust four and five-year olds with a hammer and nails. 🙂 You will only need to gather a few simple supplies for this project.
What you’ll need:
- Tin can- We used small coffee cans for the kids, but when I made mine at home I just used a can of pineapple
- Hammer
- Nail
- Wire- I know there are things like “gauge” for wire, but I pulled this out of my dad’s stash, so I have NO idea what size/type it is. Sorry.
- Wire cutters
- Pliers
- Tea light or votive candle
- Matches (or any other fire-creating device) 🙂
The site where I got the idea from said to fill the can with water and freeze it overnight. This will make it heavy and easier to handle when you are punching holes in the side. It will also keep it from bending out of shape as my pineapple can kept doing. The coffee tins didn’t seem to do that, so if you skip the freezing step, be sure to get a good quality tin can. I didn’t intentionally skip the freezing instructions. I dutifully filled each can with water and placed them in the freezer at church so they would be ready in the morning. Unfortunately, they were still full of cold water when I got there today. So, note to the church maintenance man, the freezer doesn’t work!
What to do:
- Fill a tin can with water and freeze overnight.
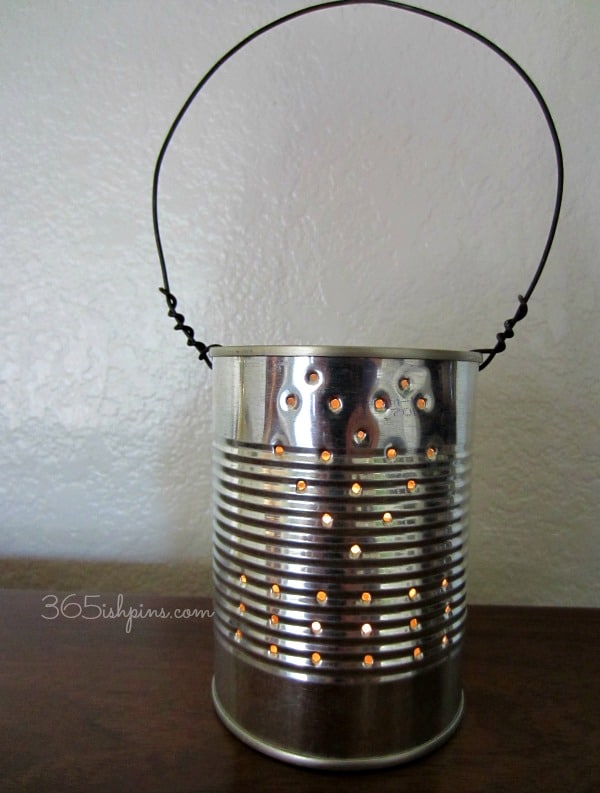
- Using a hammer and nail, punch holes in the sides of the can. You can use a Sharpie to mark out a design or just punch in random places. I made a heart and some little rows on the front of mine. There’s really no right or wrong way to do this-just make sure you punch holes up on top of each side of the can to put the wire handle.
- Using the wire cutters, cut a length of wire for the handle. How long will depend on how large a handle you want. Mine was about 8″ long.
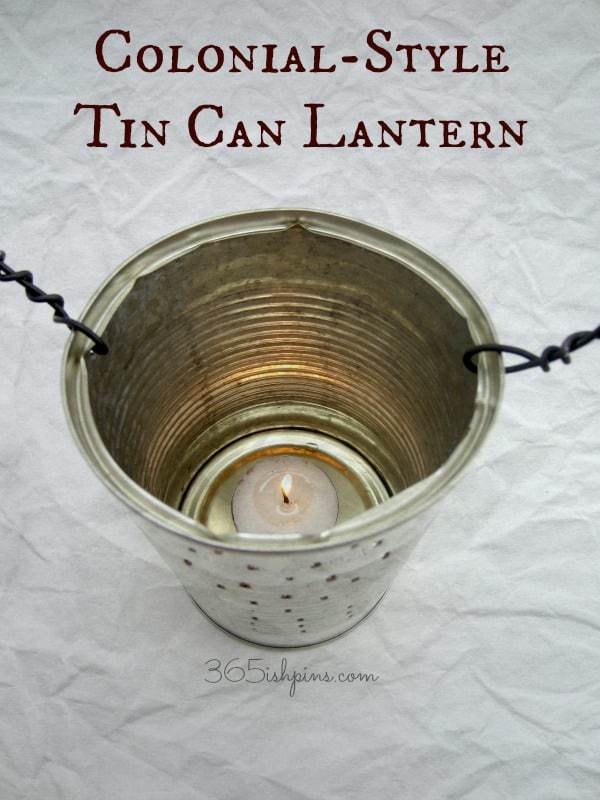
- Thread the wire through the holes on top of the can. Push it in at least and inch and then twist the end up and back around the wire with pliers. (See photo above)
- Using a match or lighter, melt a little of the candle wax and let it drip into the bottom of the tin. Place the candle on top of the melted wax to help seal it and keep it in place.
- Please remember to use close adult supervision if you are doing this with kids!
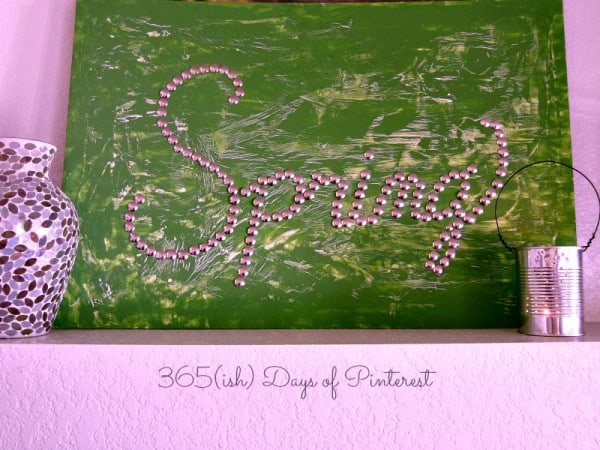
I think I am going to use my lantern as a part of my mantel decor for Spring. I’m still working on the whole thing, but I may use it as a vase for some pretty coffee filter flowers I want to try making. For now, it’s just keeping my DIY Push Pin Art sign company. 🙂
- S’more Cookie Bars - May 30, 2025
- Toffee Apple Dip - May 27, 2025
- Kool-Aid Pie: easy no bake recipe - May 6, 2025


Raquel says
Oh I love your tin can lantern! Great and cute way to repurpos Nicole! Happy Weekend to you!
Nicole Burkholder says
Thanks! I can’t wait to play around with it some more and use it on the mantel.