This post may contain affiliate links. Please see my full Disclosure Policy for details.
We are now prepared for the coming Zombie Apocalypse. And if the Mayans ever get it right, we’re ready for them, too. We wouldn’t have been back in 2012, but NOW we can be secure in the knowledge that we are going to survive. No, we haven’t stockpiled weapons, but we DO have a really cool underground oven! Yep, we can cook in the dirt. It’s no microwave, but it makes for very tender pork ribs, that’s for sure!
For our family’s 4th of July celebration, we cooked ribs in the underground oven. They were amazing. They came out so tender-even the bones were soft enough to eat (we didn’t, don’t worry) 😉 And now we have a way to cook food without power or gas. You know, in case of the zombie apocalypse. Duh.
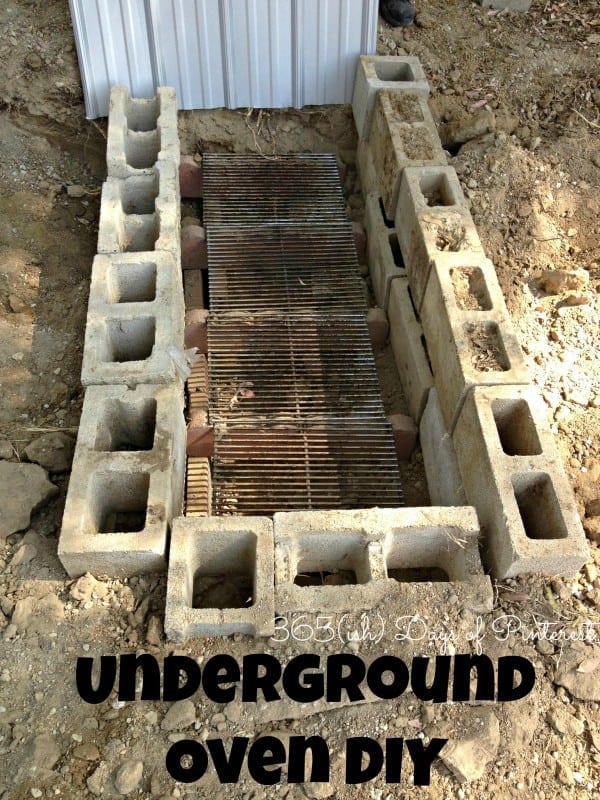
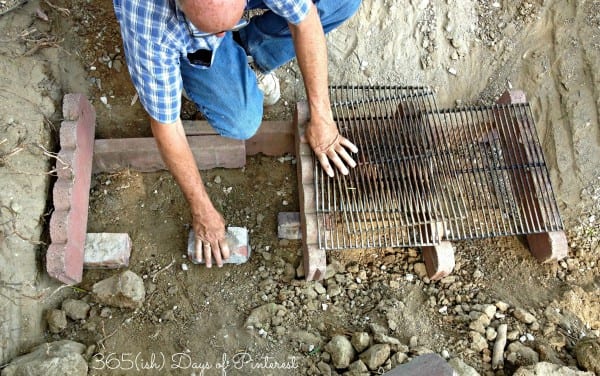
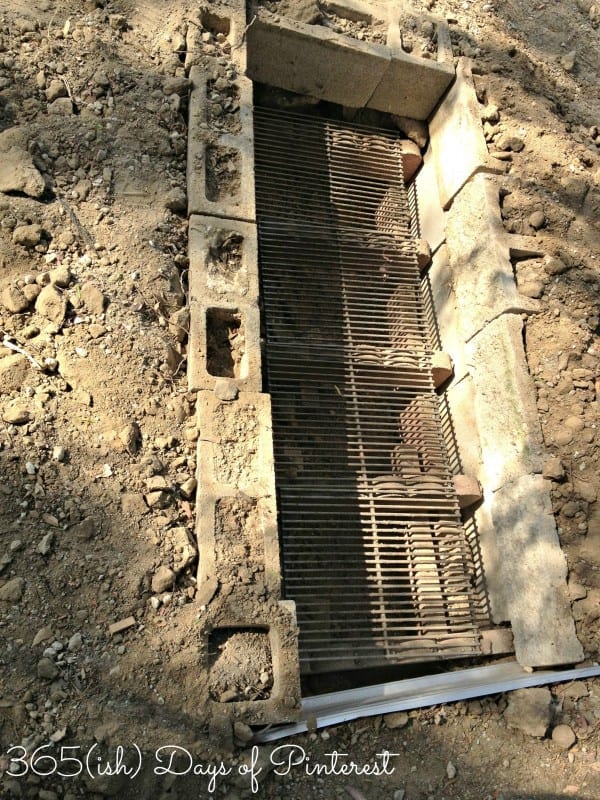
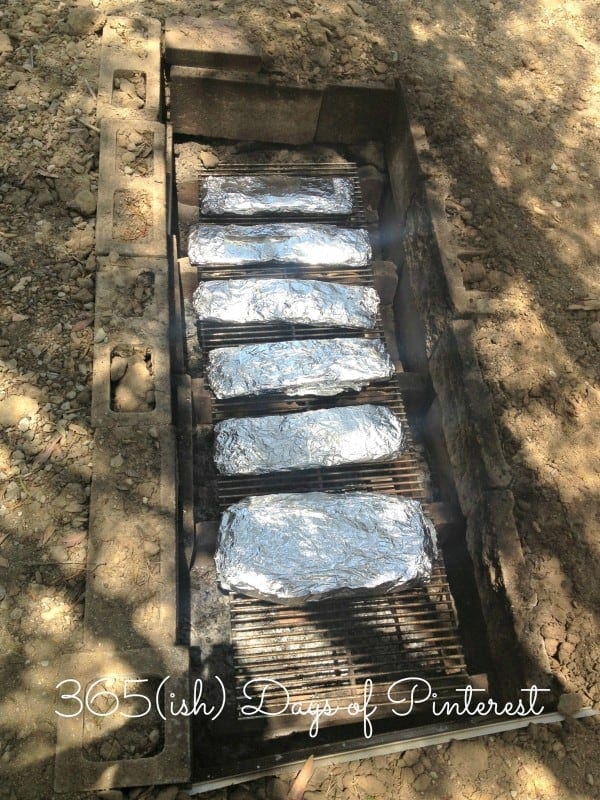
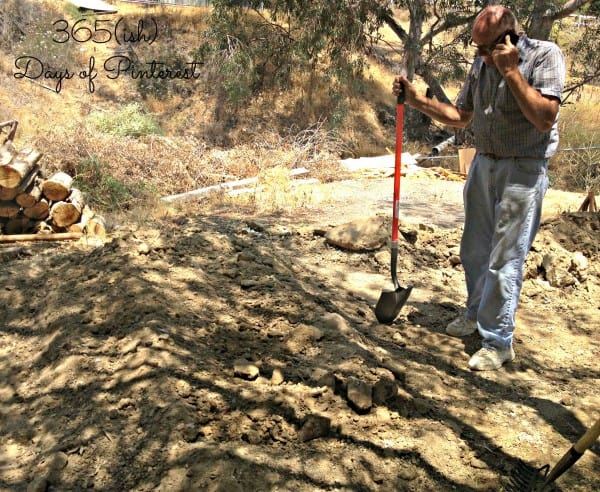
First we (and by we, I actually mean the men in the family) dug a hole in the ground wide enough to accommodate the grill racks. Our was 5′ by 1½’ and 2½’ deep. They used bricks to lift the racks off the ground and leave room for the hot coals. Then the sides were built up with cinder blocks so it was completely lined all the way around. I’m more of a visual learner, so here you go:
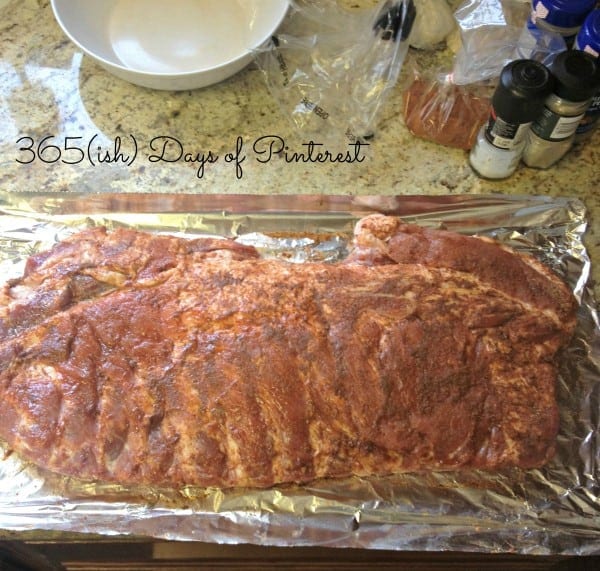
The next step before putting the food on the racks and closing up the oven is to build a roaring wood fire in the pit. Let it burn high and hot (continually) for 2 hours and then rake out the coals until there’s no flame and it’s just coals and ashes under the racks. While the fire is burning, it’s time to prepare the meat! Just look at that beautiful rack of pork spare ribs! Make a tasty dry rub and massage it into those babies! Then wrap the racks tightly in at least 3 layers of foil, making sure there is no meat exposed. When the fire is out, place the meat on the racks. Be careful- it is REALLY hot in there!
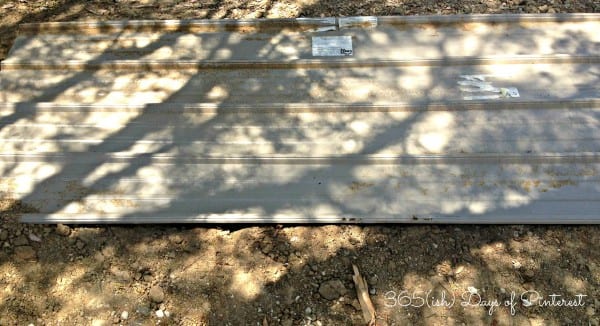
So now that your fire is burned out and you put your foil-wrapped ribs in on the grates, it’s time to commit. There’s no going back after this point, so be sure everything is ready and in there! (We should have done our corn on the cob and beans in here, too. Next year.) Place a sheet of tin over the oven and then grab a shovel- it’s time to bury it all! Cover the whole thing in 4″ of dirt.
Now, walk away and enjoy some family time for 2½ hours. Then send down the manly men to go dig up meat from the ground. This is very cool to them and they are happy to do it. Just like they are happy to play with fire. (Don’t tell them, but next year when we roast the corn and put the beans in Dutch ovens to cook, they will actually be taking care of the whole meal.) To get that tasty and pretty glaze, we basted them with homemade sauces and finished them off on the gas grill for about 10 minutes. We had savory, sweet, chipotle and hickory and brown sugar flavored sauces to choose from. Yum-my. I think the ribs just nudged out my layered drinks as the family favorite.
OK, think you can go make your own underground oven now? I hope this has been clear and easy to follow. Feel free to leave a comment with any questions you may have- or suggestions! There really wasn’t much online as far as “how-to” guides and nothing with clear instructions for ribs, so we were your happy guinea pigs. I hope you had a happy 4th of July. We sure did!
***UPDATE***
Just a quick note- we have now roasted several chickens and even a turkey in the underground oven and every time the meat has be outstanding. There’s just something about the slow roast and smoky flavor from cooking over a fire that takes the meal over the top. If you have a corner in your yard somewhere for this, it’s worth it! PLUS, you’ll be taking a step toward surviving the sure-to-com Zombie Apocalypse.
- Rank Your Favorite Christmas Movies - December 10, 2025
- Hot Cocoa Spoons - September 22, 2025
- Pecan Upside Down Cake - September 16, 2025



Mary says
Thanks for the wonderful, thorough instructions. What do you do with the 4” of dirt when they’re not in use? I would love one of these ovens, but I don’t like the thought of leaving a giant dirt pile in our yard. Our cat would surely use it as a litter box.
Nicole Burkholder says
The dirt that was dug out to create the hole was just moved elsewhere in the property (around the trees or something.) The dirt that you use to actually cover the sheet metal is just piled to the side while we load it up, then spread over the sheet of metal. After we pull food out, we cover the hole again with the sheet metal and then loosely spread it back out over the metal to keep people/animals from falling in. Then it stays that way until we’re ready to dig it out again!
Renee-Lucie Benoit says
I just saw your post on HouseTalk. I wanna do this! We just got back from Chowchilla, CA where they have this annual deep pit BBQ that is out of this world! Yum! I have a couple questions. What kind of grill racks did you use? Where did you get them? I would have thought fire bricks would be better than regular bricks but maybe the heat is not that hot. I’ve heard Hawaiians use special rocks – I don’t know what kind – that won’t explode because rocks can be porous and have water in them. Have you ever had problems with exploding bricks? What kind of wood do you use? I would think some kind of hardwood that burns longer and is not resinous. Resinous burns so quick. Coals go out so much faster than hardwood. Did you ever cook corn and beans? I would think if you put them in with the meat that they would get overcooked. The cooking time on each is so different. How did it work out? Thanks! Great inspiration!
Nicole Burkholder says
Hi, thanks for popping over to read the post! 🙂 We just pulled the racks from an old gas grill. You can also use oven racks, depending on the size of your pit. We have not had any problems with the cement blocks we used as bricks, and the fire gets HOT. We just used them because that’s what we have on hand. If you’re going to go buy bricks, you’re could easily get fire bricks instead, though. The same goes for our wood- we just use what scraps we have on hand. The property has trees that have cut and used for firewood, as well as scraps from wood working projects. Whatever you use, you just want to keep it burning (so sometimes we have to feed it more often than others, depending on the wood.) The embers and rocks will retain enough heat for slow cooking. We have cooked beans (just use a dutch oven or something similar) and I know we intended to do corn but I don’t remember if we have done that yet. It takes a little trial and error (every oven will be different based on size, wood, burning time, etc.) Good luck and have fun!
Renee-Lucie Benoit says
Thank you! (from Madera CA where it’s too crazy hot today! Hope it’s not as hot in Murrieta!) I have a place to dig all planned and when summer is over (could cook stuff outside today just in the air LOL) I’m definitely going to make a deep pit. The meat in Chowchilla was outstanding.
Velma says
Great cooking method and how to build an outdoor oven with items I already have. I like outdoor cooking such as this. I will set the manly man to work in early spring.
Nicole Burkholder says
You’re going to love it! 🙂
Lori says
Great idea!! Question, how do you know how long to cook the meat?.
Nicole Burkholder says
Honesty, I’m not sure. We did some online research before trying it and 2-3 hours seems to be the minimum. Because there’s no “combustion” while the food is cooking, you don’t really have to worry about food burning, so you can risk going longer if necessary. So far, the cooking times have been comparable to cooking on high in a slow cooker. We did about 3 hours for ribs but closer to 4 or 5 for the whole turkeys if I recall correctly. A whole chicken is less than that- more like 2 hours. Sorry I can’t be more specific 🙂
Jess @HungryHarps says
This is great! My husband would just love doing this, I can already see the caveman in him coming out. haha Thank you for sharing at #GetHimFed, this post is one of the features today! Hope you have a great weekend. 🙂
Nicole Burkholder says
Thanks so much! I’ll head over and link up again today!
Judy Loza says
Lol look at pastor having fun…. I seen this done in Hawaii when they roast the pig its so good. .. I might have to bring the meat and use the hole you all digged up lol lol
Nicole Burkholder says
We originally started with a “raise a pig, then roast it whole in the pit” plan, but that was not cost effective. So we went with just the ribs 🙂
LydiaF says
“Send the manly men to dig the meat up from the ground” Love it! Nice tutorial.
Nicole Burkholder says
Thanks! I’m afraid it doesn’t really fit into your flexitarian lifestyle! 🙂
Denise says
How cool! Don’t think I will ever try it, but interesting idea. I do love your blog though! Great concept. Found you on the Blog a Day Blog hop! 🙂
Nicole Burkholder says
Thanks for visiting! I’ll head over to check out your site!