This post may contain affiliate links. Please see my full Disclosure Policy for details.
A few weeks ago, the boys and I walked down the street to a HUGE fundraiser garage sale. I was just about to leave with only a few little toys for the kids, when I saw this wood desk. It really needed some work, but it had good “bones” and the drawers still opened and closed nicely. It would make a perfect school desk for Henry! Now I just needed to figure out HOW to do a decent desk makeover!
Here’s the lovely “before” picture. Note the most important tool 🙂
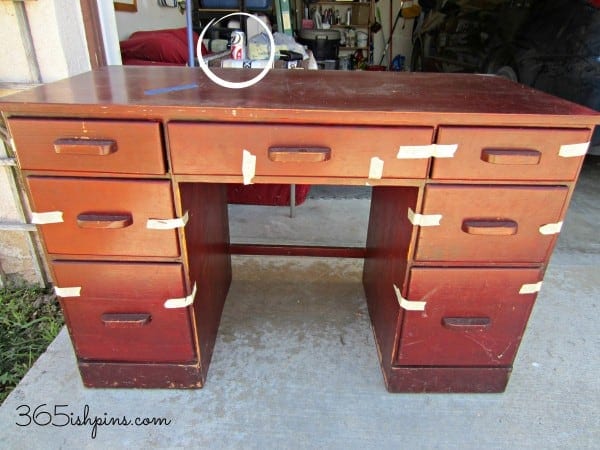
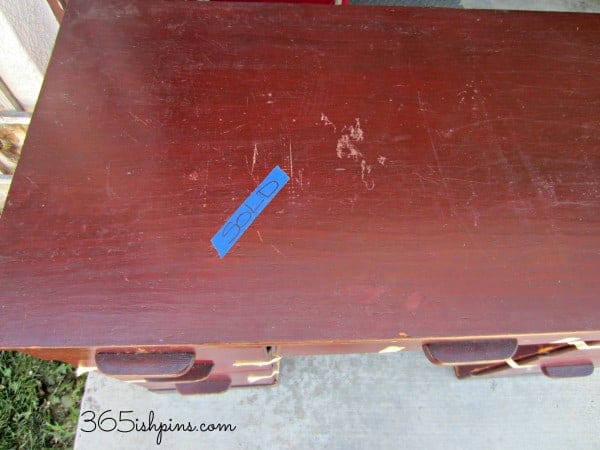
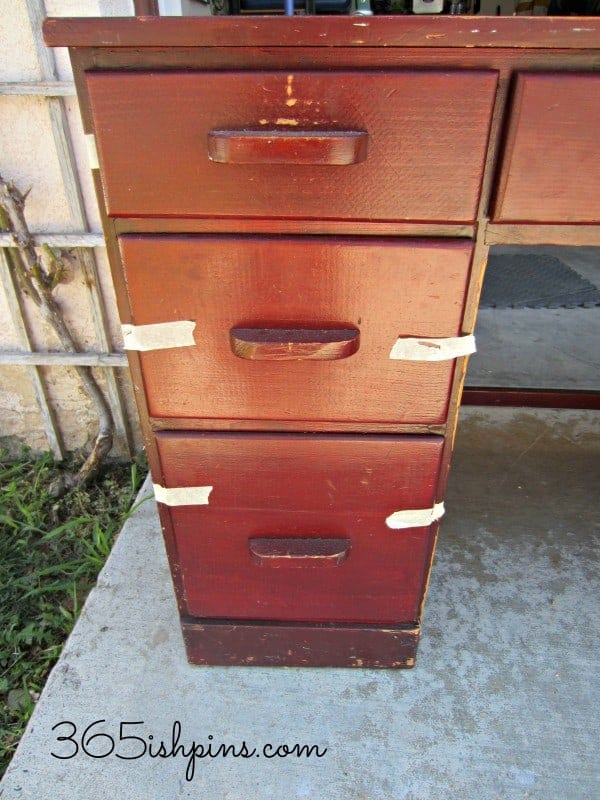
That masking tape holding the drawers shut became my nemesis later on. I should have taken it off as soon as we got home. Instead, it sat in a hot garage for a couple weeks and melted onto the finish. Luckily, I planned on painting, not refinishing, so I sanded most of it off.
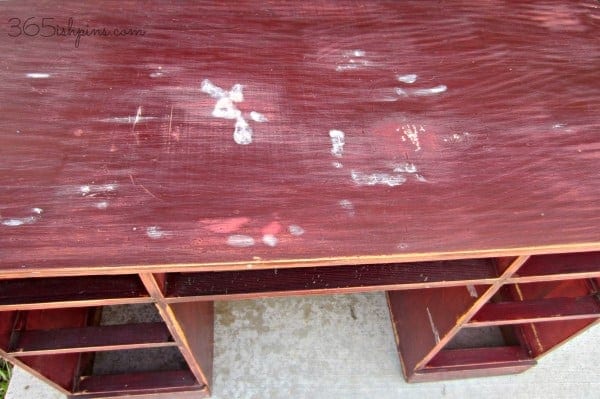
So, the first step was to sand all the sticky residue and old finish off the whole thing. I used a 60 grit course sandpaper. I’m NOT a DIY gal, so I don’t have any cool tools. But this was a pretty small project and my expectations were low. I used a single sheet of sandpaper. Don’t forget to wear a mask! You don’t want to breathe in any of that dust! I think it’s a great look. 🙂
After the first sanding, I filled all those creases and divots with wood filler. I made sure to get the paint-friendly kind. After letting it dry, I sanded again with a finer grit until the top was smooth and I couldn’t feel a difference between the putty and the desktop. Then I wiped it down with a damp rag to make sure all the dust was gone.
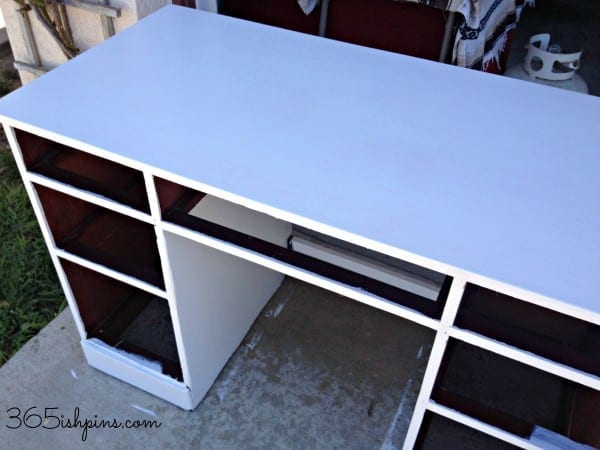
I used basic white interior paint for the desk. I also used a roller instead of a paintbrush (WAY faster) and then went over it with a foam brush. Because I was painting white over a dark stain, it took 4 coats to completely cover it. I should have used a primer first, but I didn’t have any, and I didn’t want to buy more paint. Between each coat, I sanded again with a 180 grit sandpaper.
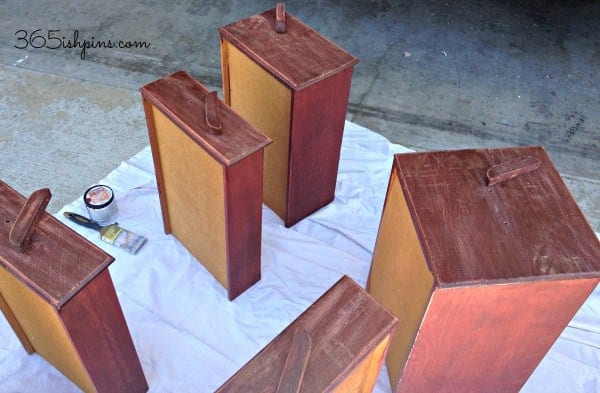
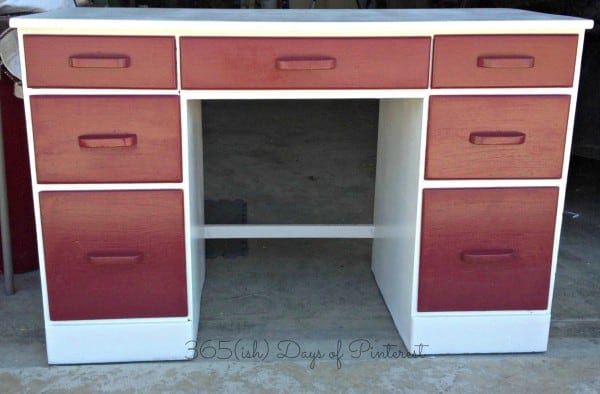
Painting the desk took an entire day’s worth of free time, so the drawers had to wait until the next day. I wanted a little pop of color to make this desk more fun and inviting. I kicked around the idea of papering the drawers, or painting a stripe down the sides. But then I decided I would just paint all the drawers a contrasting color. I hadn’t decided on which one until I happened across the “oops” paint shelf at Lowe’s. There was a little tester-sized paint jar in a gorgeous cinnamon color for only $1! Bingo! It also goes beautifully with my kitchen and dining room colors, which is where I decided to put the desk for easy access during school. I unscrewed the handles and used a small brush to paint to front of each drawer. (After sanding with the 60 grit paper.) I tried to paint the handles while they were off the drawers, but I just ended up with paint everywhere. When the drawers were dry, I screwed the handles back on and painted them while attached.
After everything was dry, I put it all back together. I could have stopped here, but it just seemed like something was missing. So I asked my lovely Facebook readers what they though about putting a chalkboard top on it. It seemed to just go with the school theme and colors. The result of my little poll was an overwhelming Yes!
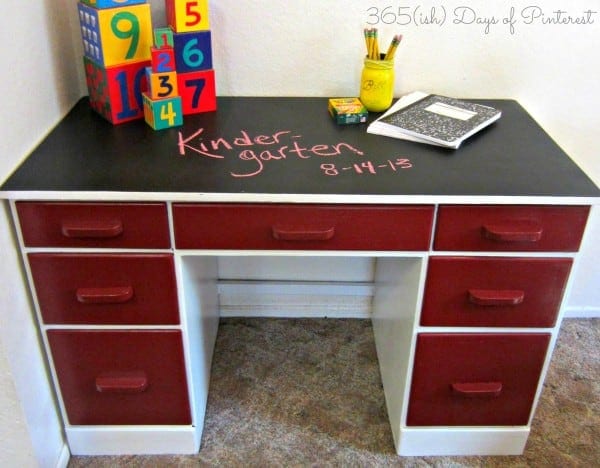
I had chalkboard spray paint leftover from my Ball Jar teacher gift (pictured below), so I used that to cover the desktop. It only needed one coat, but I did two just to be sure. I taped off the edges when I sprayed and then just went back and used a small foam brush to touch up any areas that caught a little over spray. Ta Da! From a $10 garage sale find to a pretty and useful school desk. Now that’s a great desk makeover DIY!
Here’s my little man enjoying a treat on his first day of Kindergarten at his new desk!
- Tex-Mex Casserole - February 17, 2026
- Rank Your Favorite Christmas Movies - December 10, 2025
- Hot Cocoa Spoons - September 22, 2025





Monica says
Pinned and am featuring under “organizing” at Family Fun Friday.
Monica
happyandblessedhome.com/category/family-fun/
Nicole Burkholder says
Thank you! I’ll be sure to visit and link up again!
Rae @ Disorganized Musings says
The desk looks awesome!! I have been wanting to pick up a piece from Goodwill or a yard sale. I am in need of a desk and some night stands.
Nicole Burkholder says
Garage sales are my favorite place to find things! The prices are always better than anywhere else and you never know what you may stumble upon! 🙂