This post may contain affiliate links. Please see my full Disclosure Policy for details.
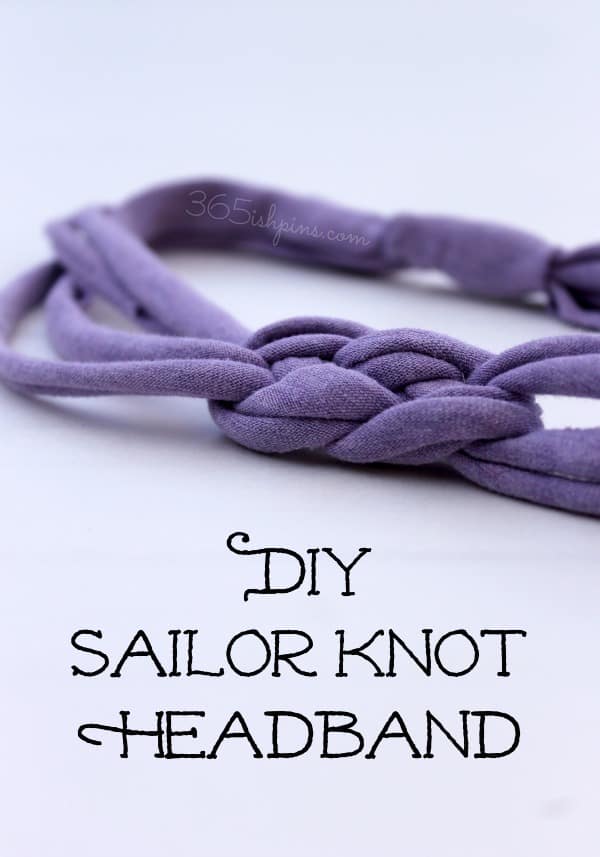
If you’ve been following along here since the beginning, you know that I took my first year of blogging and tried a different pin every single day and posted about it. After reaching 365 days, I gave myself a much-needed break and took more time between pins. I also started branching out and trying my own craft and recipe creations. But today, I’m getting back to my roots! There are certain things you see all over Pinterest and those “trendy” pins are the ones I zero in on to see if they really work for “normal” people like me. 🙂 I’ve been meaning to try these DIY t-shirt headbands all summer and I finally took a few minutes to make one for myself. And really, it only takes a few minutes!
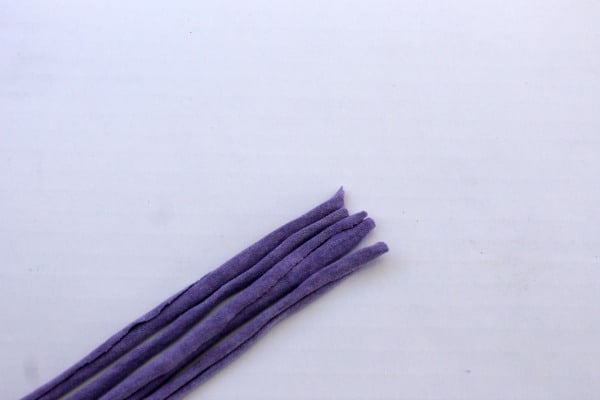
Start by cutting two strips about 1″ wide across an old t-shirt. For this type of headband, it doesn’t matter what size you use because you will trim it to your head size later. You’re going to cut through the whole shirt, not just one side, so when you pick it up, it’s a closed loop. Take the two loops and stretch them out a little so they curl up and pull to the same size.
Take the first strip and fold it over itself to form a loop like this. (After I attempted this whole process three or four times, I made sure to put the seams on the tail ends so they be trimmed off, unlike this photo where the seam is near the middle)
Take the second strip and lay it in a loose “U” over the top of the looped stripped as shown.
I’m sorry about the angle change! I did this quite a few time and didn’t keep track of which way I was laying things out. When I went back to edit my photos I realized I shifted half way through. Oops! Anyway, take each side of the “U” and place it under the loop and under the tail of your looped strip.
This is the step that got me. It seemed like there should have been one more thing or something. I tried this at least four times before I got it right. You need to take the top strip of the “U” shown in the last photo, and then tuck it under itself and back over the loop. Everything else is right where it needs to be. The next photo shows it a bit more clearly:
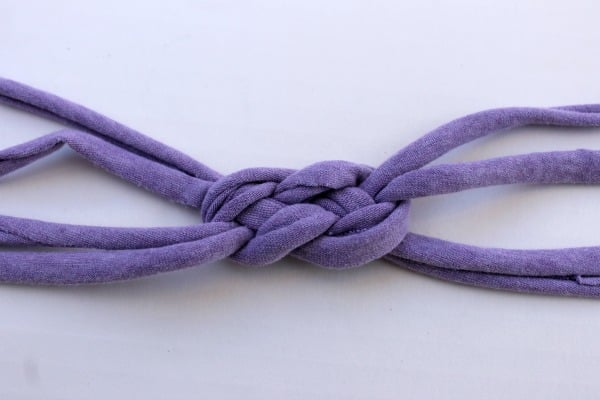
Before you start to pull the corners and tighten the know, make sure it looks like this. I had to look at the photos I was using as a tutorial and trace the lines back and forth, over and under, comparing them to mine to be sure it was correct. If it looks right, gently tug on all four tails to draw the knot closed.
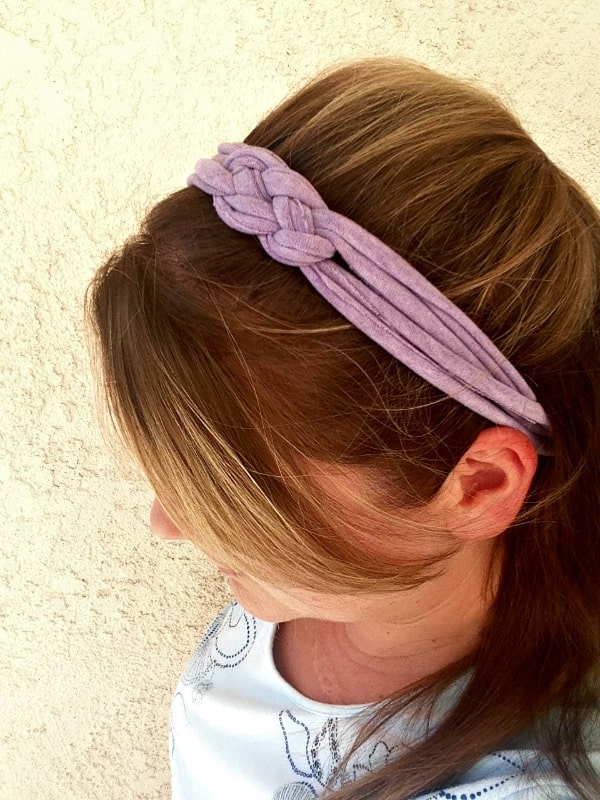
You should now have a pretty little sailor knot in the center and four tails!
Trim the edges of each tail so they are even and fit the circumference of your head. I just wrapped mine around my head and got a general idea of how much length to remover. It’s a stretchy shirt, so I had some leeway.
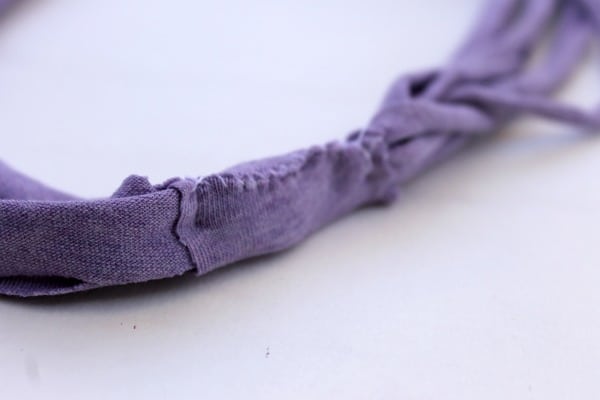
This next step can be done several different ways. You can just know the ends all together and be done with it, but I have such thin hair that I knew that would add too much bulk at the base of my head. You can also cut a 2″ wide rectangle from remaining fabric and use a hot glue gun to attach the ends to it. I chose to just add a few little stitches to mine to hold them together and cover up my ends. (I couldn’t find my glue gun easily and this only took 2 minutes.)
If you sew the underside, it won’t ever show and you have a pretty and mostly flat end like this to go at the nape of your neck.
Ta Da! I did it! And there’s a reason these things are all over Pinterest! They are so easy and versatile. I wore mine for the rest of the day and I love how soft and comfortable it is! I may start grabbing up t-shirts at garage sales just so I can cut them up for headbands. 🙂 There’s another kind of headband that is INSANELY easy to make. No sewing and not even any special knots are required. Just a pair of scissors will get you this turban-style headband.
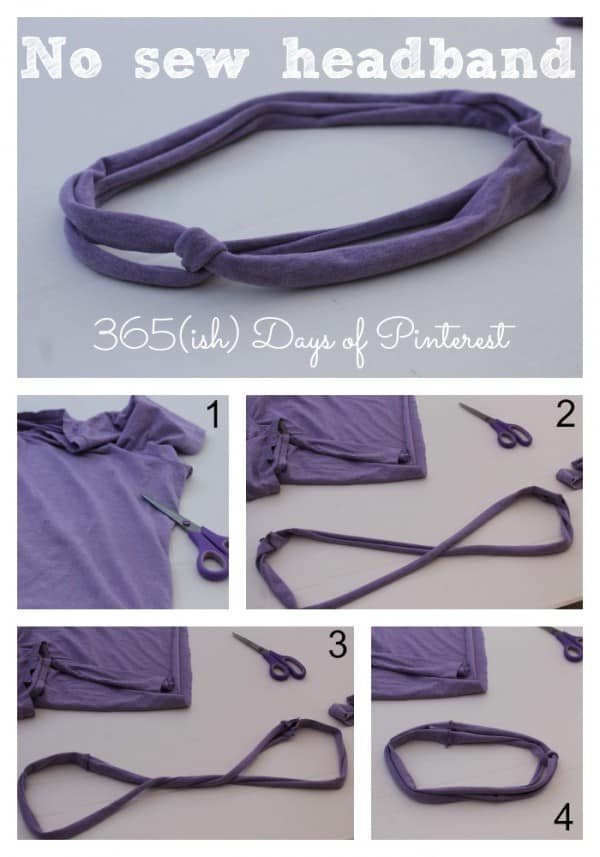
Cut a strip at least 2″ wide across your shirt. (For this one, a Medium shirt is probably the best fit) Fold it over in the middle to make a circle 8. Twist one more time, and then fold the ends over to reach each other. Slip over your head and you’re done! I think a more sturdy fabric would work well with this style, as well as wider strips.
So there you go- two for the price of one! I’ve finally jumped on the DIY headband bandwagon and even though I was late to the party, I’m glad I’m here!
- Tex-Mex Casserole - February 17, 2026
- Rank Your Favorite Christmas Movies - December 10, 2025
- Hot Cocoa Spoons - September 22, 2025





Leave a Reply