This post may contain affiliate links. Please see my full Disclosure Policy for details.
Get ready, folks. It’s about to get REAL in here. Back in the “olden days” before Pinterest, I read an article in a magazine about making your own padded headboard. The fancy magazine version was more than I could handle or even want, but I figured out a way to make it cheap, easy and fit my style. I went digging through my old Facebook posts to find a picture to show you. So here’s what it looked like when I was finished:
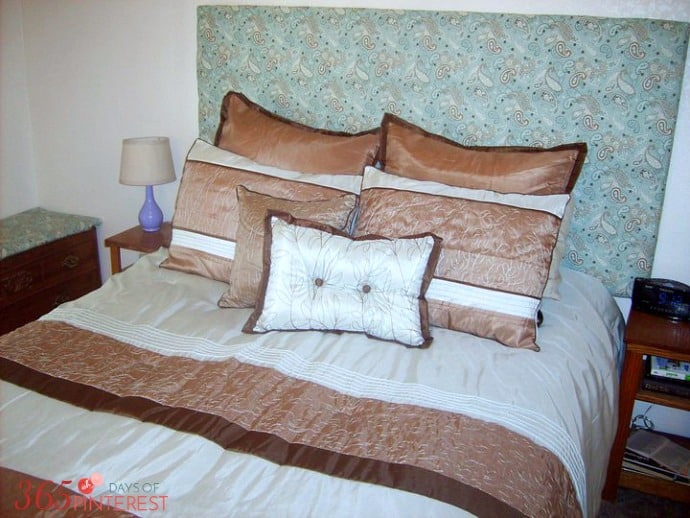
Pretty, right? We have a huge white wall in our master bedroom and I wanted a large headboard to fill the space with color and texture. It’s served us well for the last 5 years. But now, it looks like this:
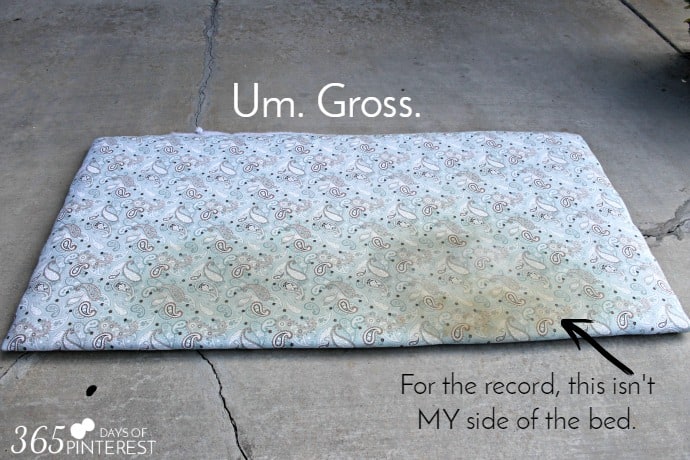
So, obviously you can see where our heads and arms rub up against the bottom of the headboard. Ick. I tried cleaning it with many different concoctions, but I just couldn’t get rid of those dark stains. So, I headed to the store for some new fabric and figured I would share the SUPER easy steps to making this DIY padded headboard!
DIY Padded Headboard
What you’ll need:
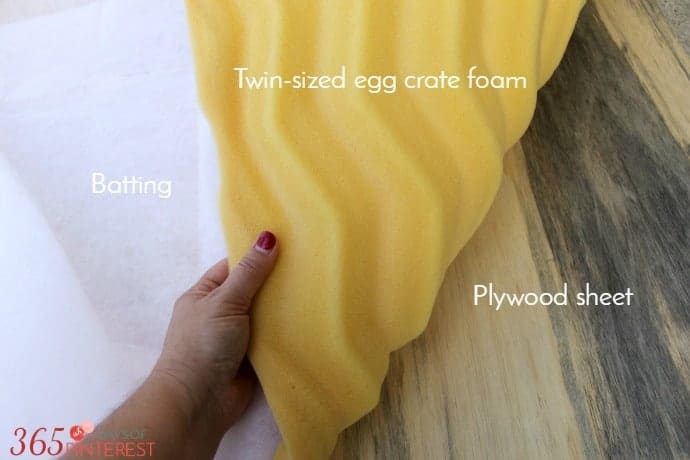
- Sheet of plywood (I had mine cut to 6’x3′ at the store)
- 1 twin-sized egg crate mattress pad
- Batting
- Fabric of your choice, 2 1/2 yards
- Staple gun and staples
Are you ready for how EASY this is?
- Lay your plywood out on a flat surface and cover with the egg crate (ridges down.) I almost passed out when I saw how ridiculously expensive foam padding is at the fabric store! WHY?!? Instead of spending $70 on a piece of foam we weren’t even going to be sitting on, I bought a $10 egg crate foam topper and it was the exact size that I needed!
- Take the batting and cover the foam with it, overlapping several inches all the way around.
- Stretch out your fabric over the batting and foam and then fold it over and around the edges. Flip the board over (this is a job for two people) and staple down the fabric with a staple gun.
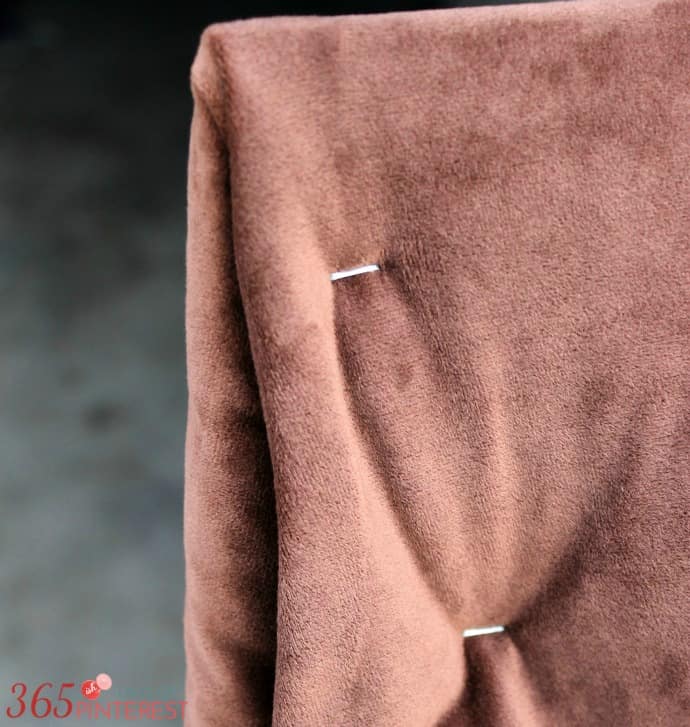
At this point, the only thing left to do is hang it on the wall! It’s surprisingly light, so you don’t need major hardware to hang it. My husband found these in the hardware section at the store and they are perfect. We used one set on each end of the board.
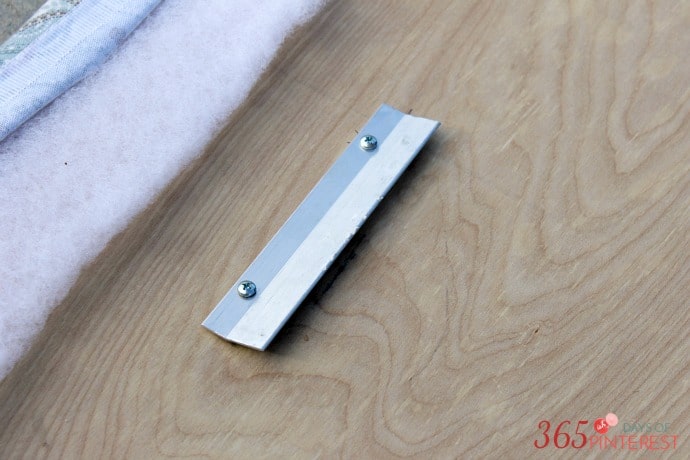
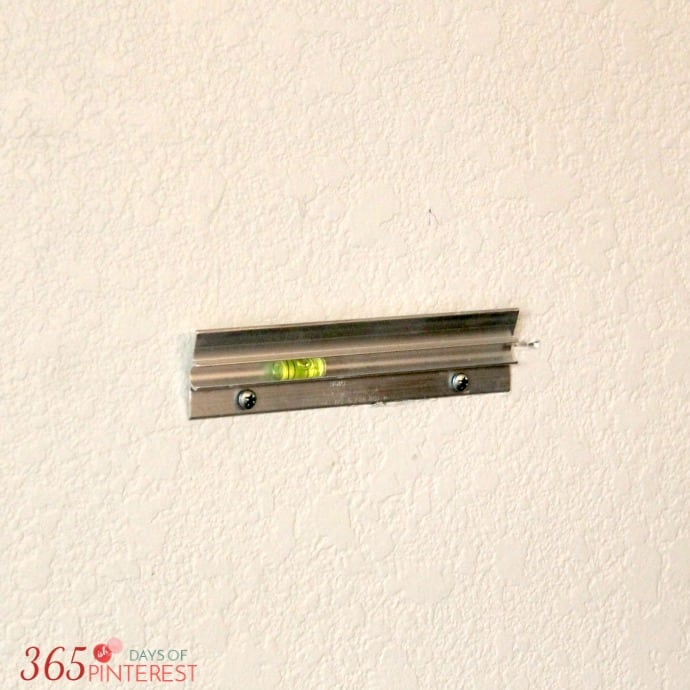
Here’s what the mate looks like hung on the wall. It comes with a handy leveling bubble so you know it will be hanging straight when you’re done.
Our weather has been less than cooperative and the designer of our floor plan apparently was a vampire, so the lighting isn’t the best but you get the idea. 🙂 I’ll do my best to get a better shot someday when we have some good morning light in the room. For now, you can use your imagination.
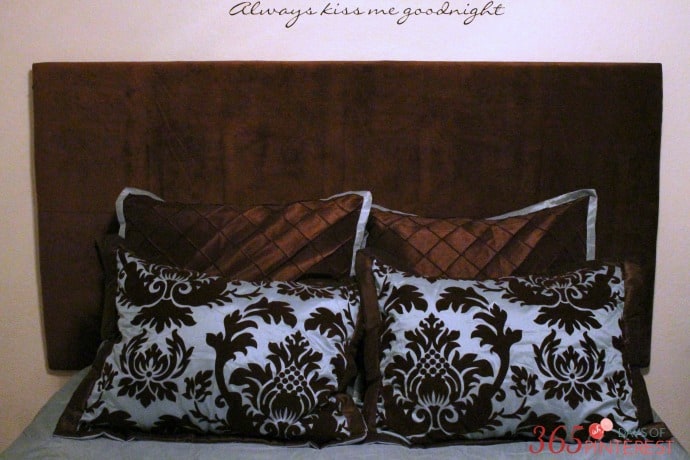
The whole point of this post is to show you that you don’t have to be a DIY maven to create something useful and even beautiful for your home! Also, super cheap. That’s important to me. 🙂 This whole thing cost $50 the first time I made it, and recovering it was less than $10 because I found fabric on clearance. You’ll note that I opted for a darker fabric so we don’t end up with those lovely stains again.
What about you? Have you created anything lately? I’d love to see it! Leave a comment, shoot me an email at [email protected] or share it on social media and use #365Pins so I can find it. Can’t wait to see what you’re up to!
- Rank Your Favorite Christmas Movies - December 10, 2025
- Hot Cocoa Spoons - September 22, 2025
- Pecan Upside Down Cake - September 16, 2025

Leave a Reply