This post may contain affiliate links. Please see my full Disclosure Policy for details.
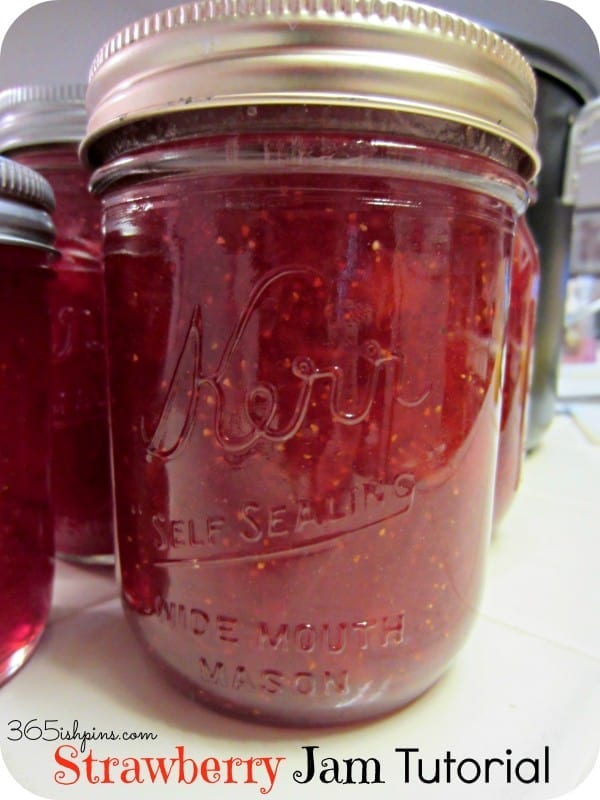
These beautiful berries are in season and really inexpensive right now (I got mine at Winco for only $1 a pound), so grab a couple of pounds and make some delicious jam to put away for the future. (OK, if I’m honest, we’ll have gone through all 6 jars by next week, I’m sure.) I’ll show you how-it’s easy!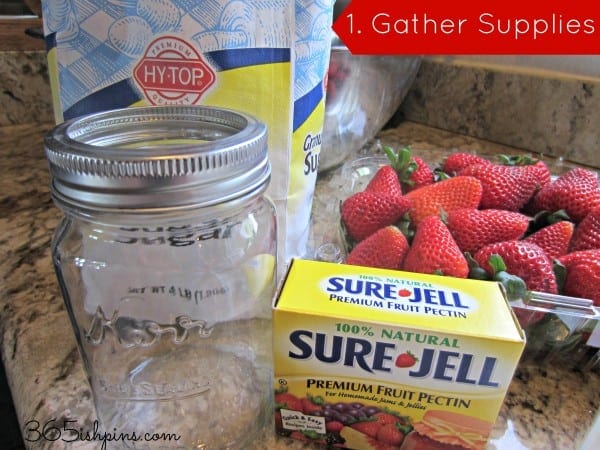
First things, first, gather all your supplies. Jam-making moves quickly so make sure everything is measured out and handy. You’ll need sugar (almost an entire 4 pound bag), pectin, strawberries, jars, rings and lids. Oh, and a Dutch oven or large stockpot. Put the jars in the dishwasher and start running them through the cycle so they are clean and HOT when you are ready to fill them. Also, put the lids in a shallow pan of water on the stove and keep them warm over medium heat.
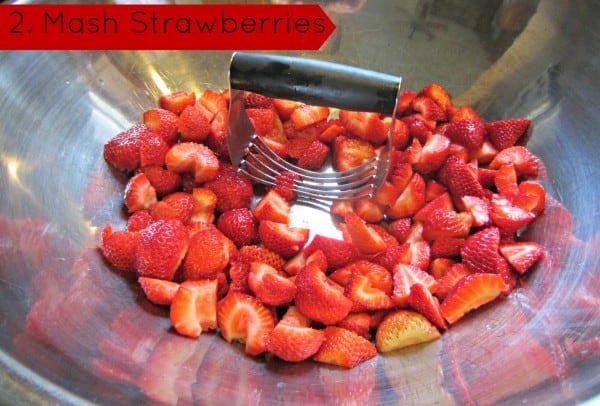
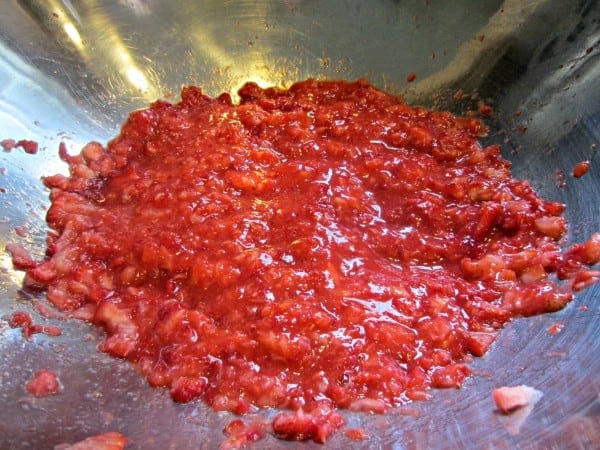
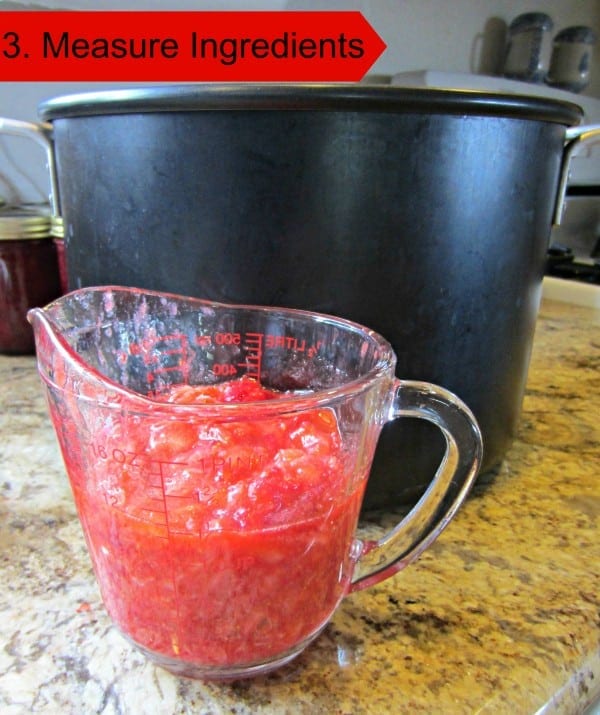
Second, hull and quarter the berries. Be careful not to take too much “meat” off with the greens. You want every precious little chunk! And don’t worry about soft spots. As long as they aren’t rotten and nasty, they’ll make great jam. Using a slicer or masher like the one pictured, mash up the berries until they look something like this:
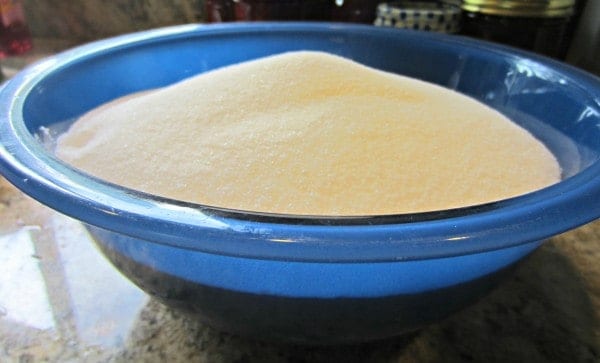
Third, measure out your ingredients EXACTLY. You’ll need to follow the instructions on whatever brand of pectin you purchase. For this recipe, I used Sure-Jell and it called for 5 cups of strawberries and 7 cups of sugar. The pectin my mom was using called for 4 cups of strawberries only. So be sure you read the instructions. If you don’t use the exact amount of each ingredient, your jam will not set properly.
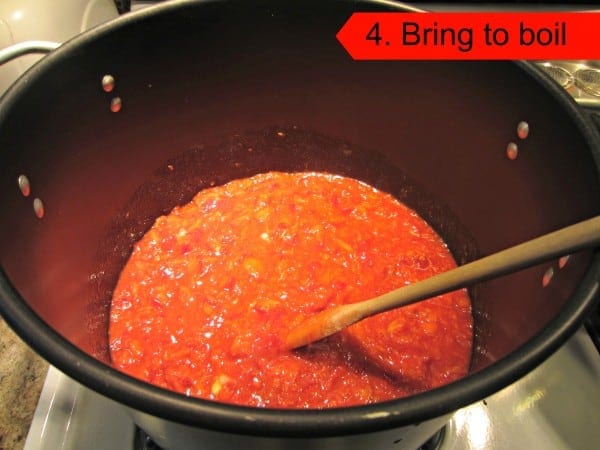
Fourth, bring your ingredients to a rolling boil. For my recipe, I had to first boil the strawberries and pectin and then add the sugar. My mom’s called for the sugar to be added in from the beginning. Again, just follow the instructions that are printed in the pectin packaging.
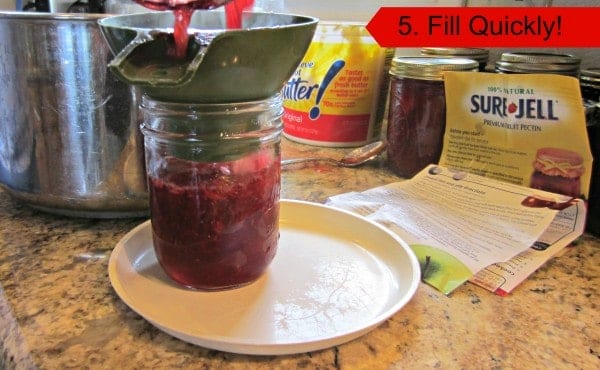
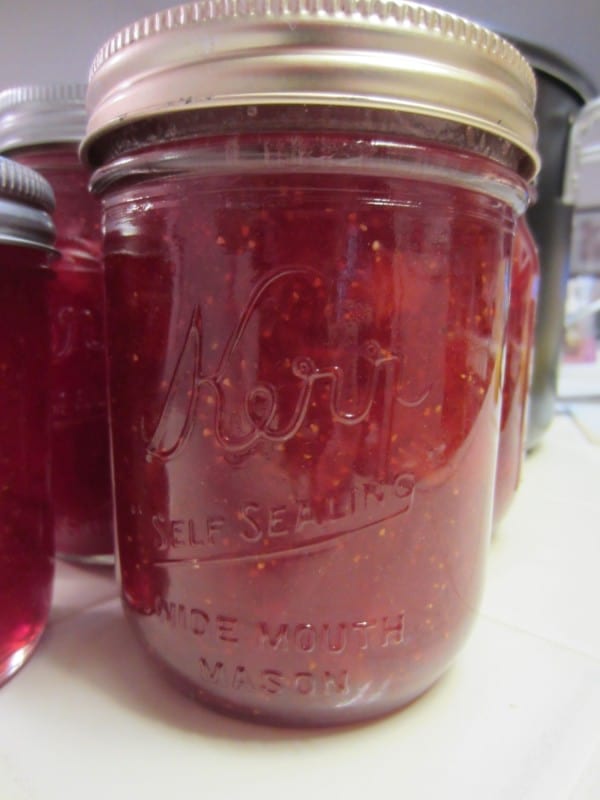
Fifth and lastly, as soon as the mixture is finished ladle it quickly into your jars. They should be hot-pull one at a time from the dishwasher to keep them warm. Wipe off the rim of the jar and place a lid (still sitting in hot water on the stove) on it. Put the ring on the jar and place upside-down on the counter for five minutes to seal it. After five minutes has passed, turn the jars right side up and leave them out overnight to come back to room temperature. You may hear “popping” as the lids finish sealing. I had enough jam left to fill half a jar after sealing my others so I just put the lid on and stuck it in the fridge. It’s always fun to have some the day you make it-there’s nothing like fresh strawberry jam!
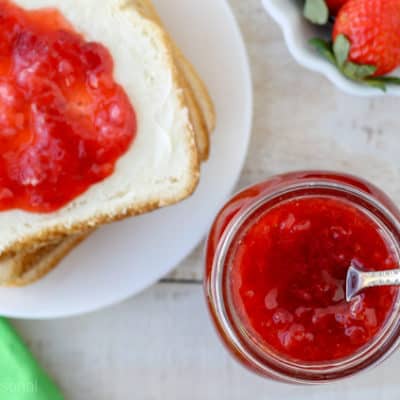
Ta-da!!! Your beautiful finished product!
- Rank Your Favorite Christmas Movies - December 10, 2025
- Hot Cocoa Spoons - September 22, 2025
- Pecan Upside Down Cake - September 16, 2025


Denise says
Do you hot bath your jam?
Nicole Burkholder says
No, we do not- just keep the lids and jars hot in the dishwasher and then seal them up as soon as the hot jam goes into the jar.
Linda says
Great recipe. Thanks for coming by Saturday Dishes with this post and your instructions.
Wishes for tasty dishes,
Linda @ Tumbleweed Contessa
Faith says
Hi Nicole,
I finally got around to making this jam recipe and thanks to your detailed instructions it turned out Delicious! I may never buy strawberry jam again as my family loves this homemade product!
Thanks for taking to time to post all these great ideas 🙂
Nicole Burkholder says
I’m so glad it worked for you! There is NOTHING like homemade strawberry jam!
Susan says
Looks delicious! I will have to make some soon! Thanks for sharing!
Nicole Burkholder says
We are still enjoying ours 🙂
lovebakesgoodcakes says
Yum! I bet homemade jam is so much better! Thank you so much for sharing at last week’s All My Bloggy Friends 🙂 I can’t wait to see what you share this week!