This post may contain affiliate links. Please see my full Disclosure Policy for details.
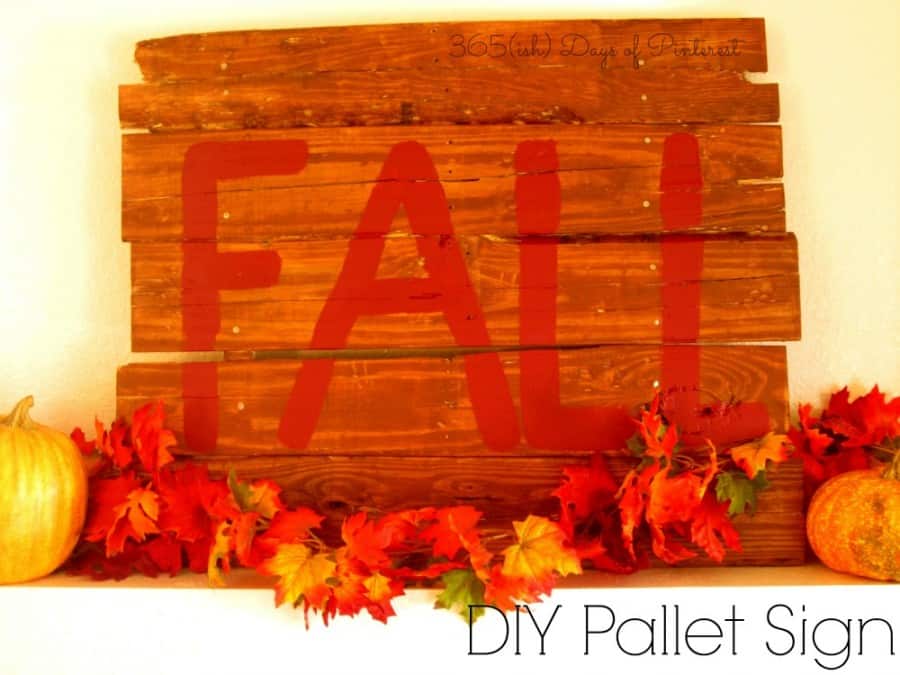
Pinterest continues to push me out of my comfort zone and into the exciting world of DIY. Or maybe it’s the great new bloggers I’ve “met” online who inspire me to try new things. Either way, I knew I wanted to try a DIY pallet sign at some point. What I really wanted for my mantel this year was a few of those cute wooden or cardboard letters to spell FALL or LEAVES or something deep and inspiring like that. 🙂 But, alas, they are so expensive and I would still need all the “stuff” to decorate them. So when I drove by a pile of pallets the other day with “FREE” written on a sign next to them, I knew exactly what I was going to do! Well, I knew what I wanted to do. I had no idea what I was actually doing. I did some Pinterest searching and called on a couple of experts. Now I have my very own DIY Pallet Sign Tutorial just for you! 🙂
What You Need:
- Pallet
- Hammer
- Saw
- Nails
- Wood Stain
- Paint
- 1″ Paint brush
- Muscles (demo is hard!)
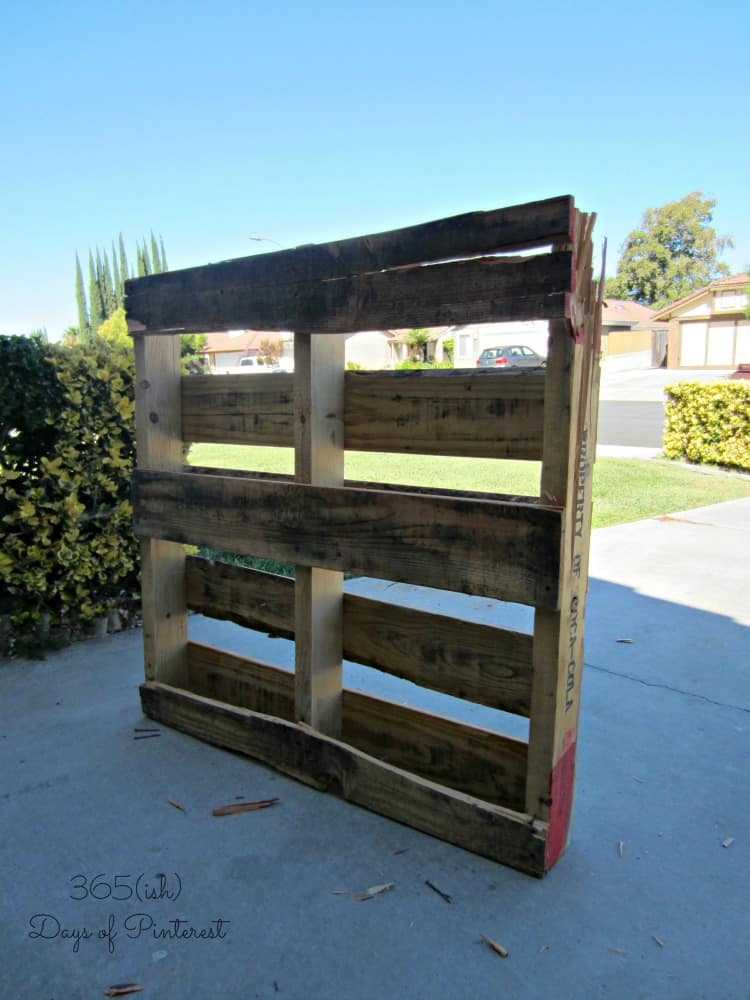
Here’s my free pallet, waiting to be rearranged.
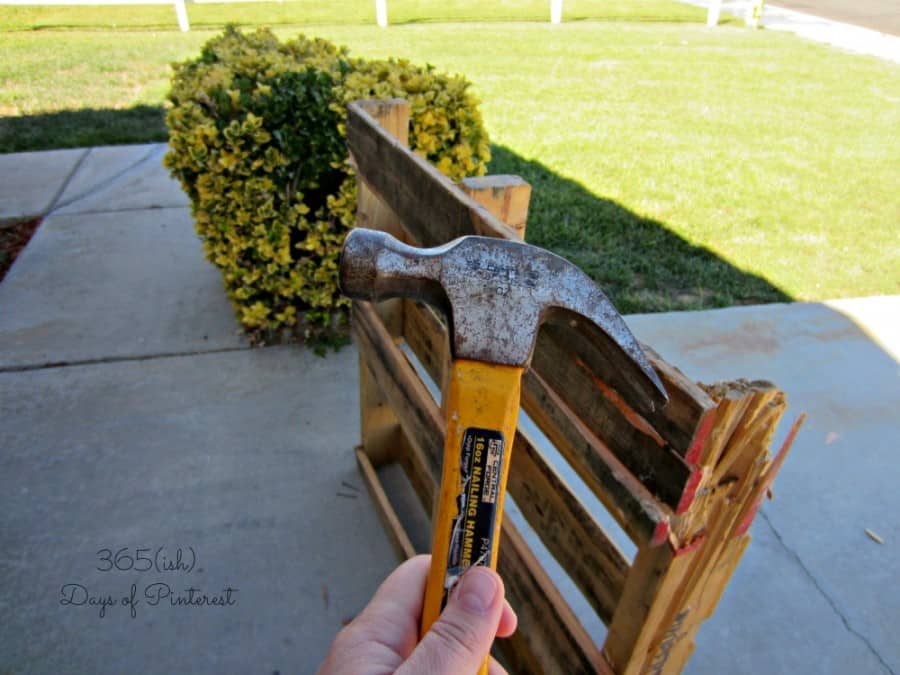
I only used a hammer to beat this thing apart. A crowbar would have been easier, or even a Sawzall, but you work with what you got, right? It didn’t take too long. It did take work.
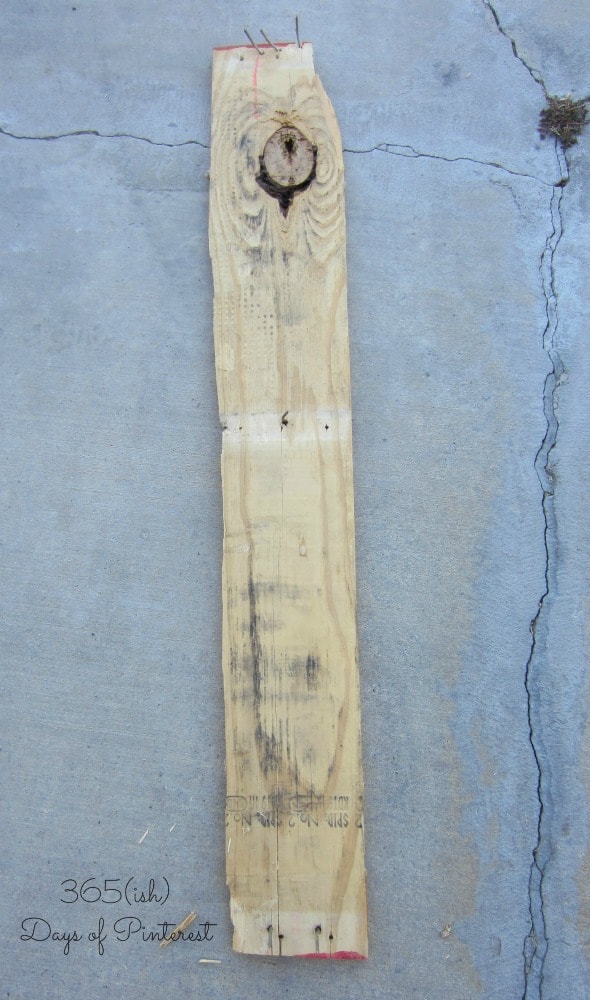
Here’s one board I managed to pull off without completely splintering. Watch for nails!
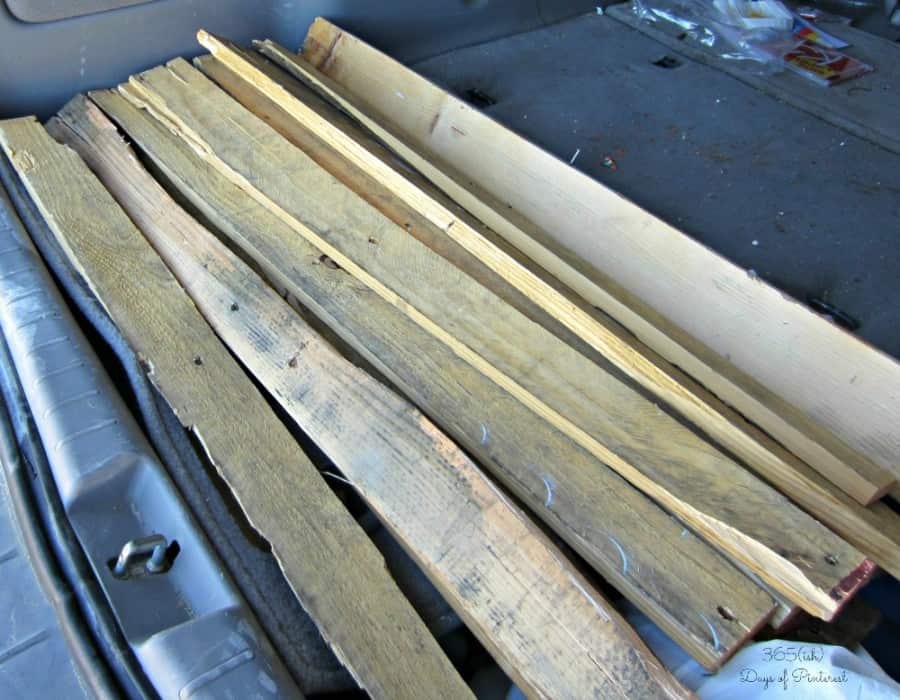
And here’s my pile of potential, ready for a trip to my dad’s garage where I could get them trimmed down and grab a free can of wood finish. 🙂
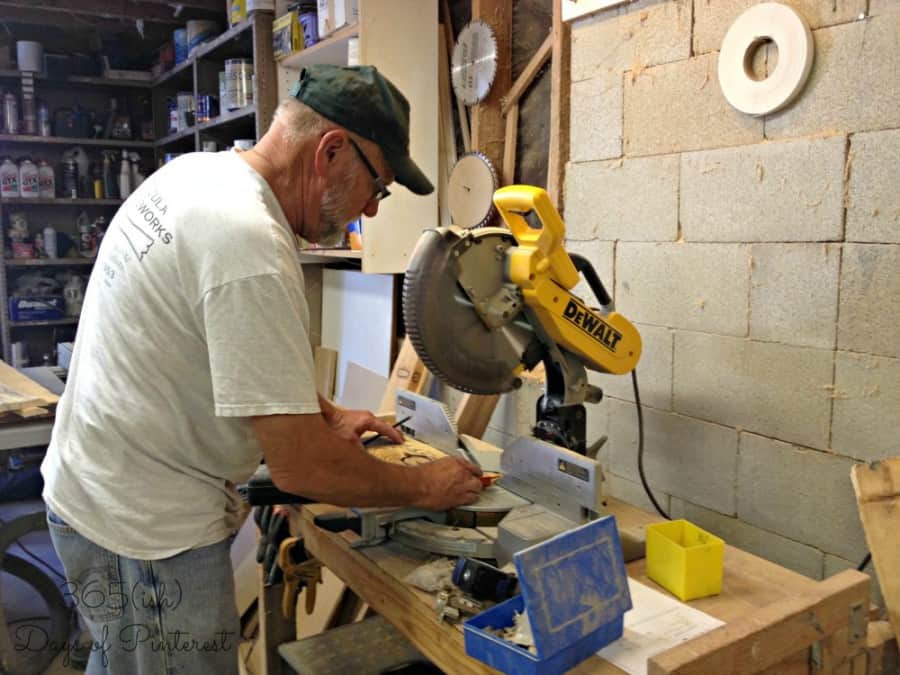
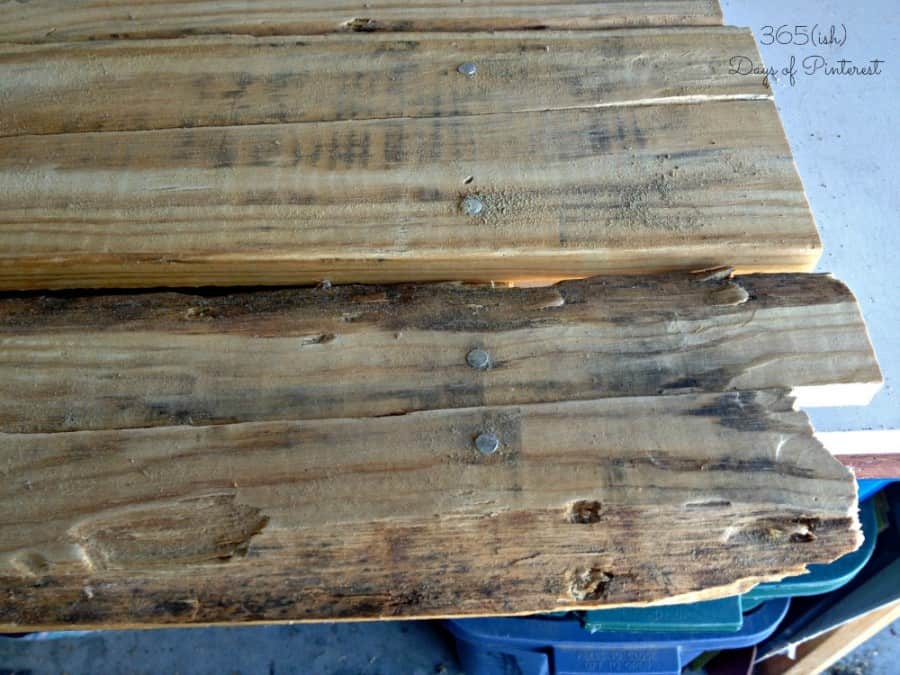
Use a “saw thingy” like this one to cut your wood down to whatever size you want. I only trimmed a couple of inches off each side. I left some rough edges because I liked the character of the wood and the rustic look for this project. Oh, and if you can get one of these guys to do the work for you, you’re golden. He even cut a couple of pieces of a 2″x 2″ so I had something to attach my pallet boards to each other. They were smaller and more even than the wood I set aside for that purpose. Thanks, Daddy! 🙂
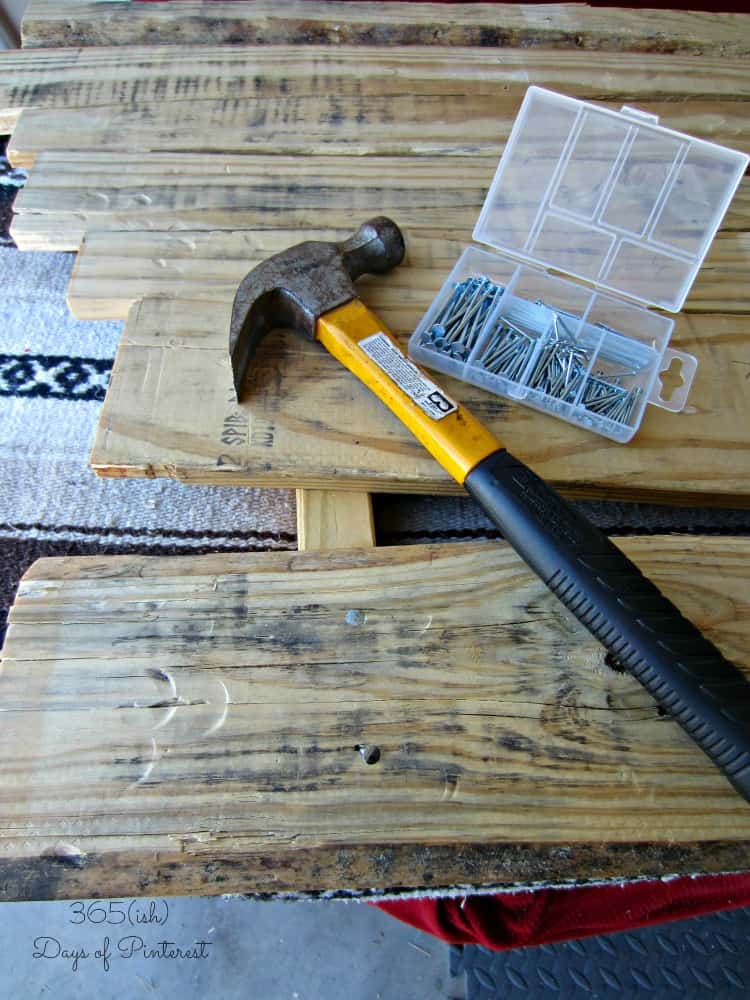
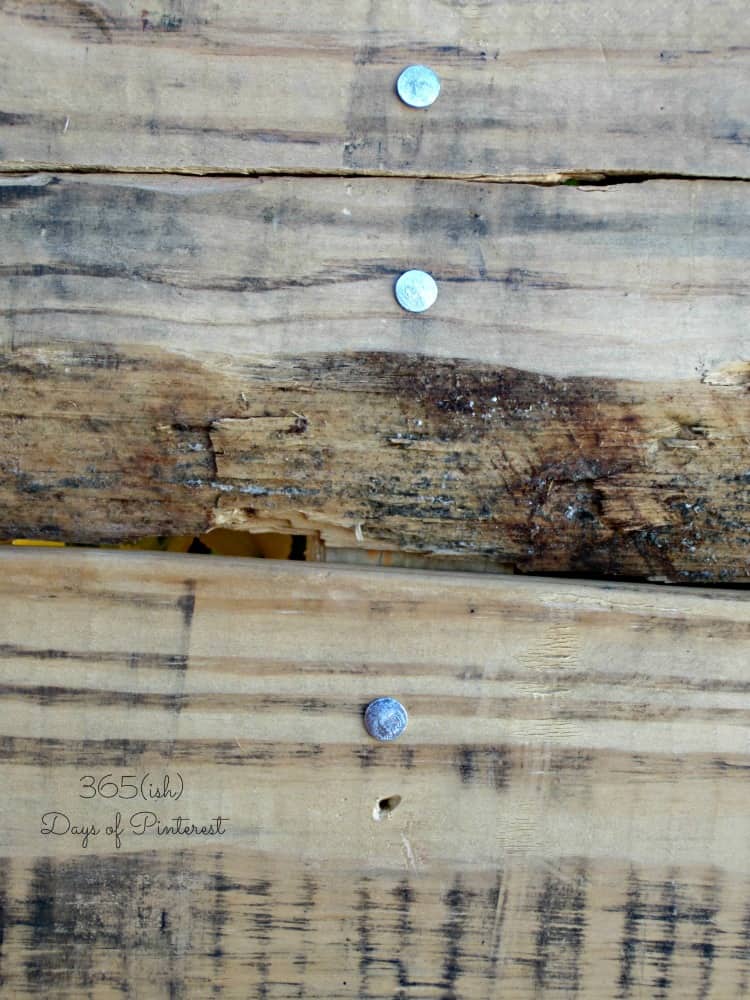
Now it’s time to reassemble! I numbered my slats after trimming them so I didn’t have to do a puzzle again when I got them back home. You can see the 2×2 that I nailed each slat to in this photo. I didn’t try to hide my nails because I wanted that rough, rustic look. Note: it’s easier to control a hammer if you hold it closer to the top, but you get much more energy (read fewer strikes necessary) if you hold the hammer down near the end of the handle.) I’m sure my dad and brother are laughing at me right now. Some people may not know this, OK?!? I didn’t.
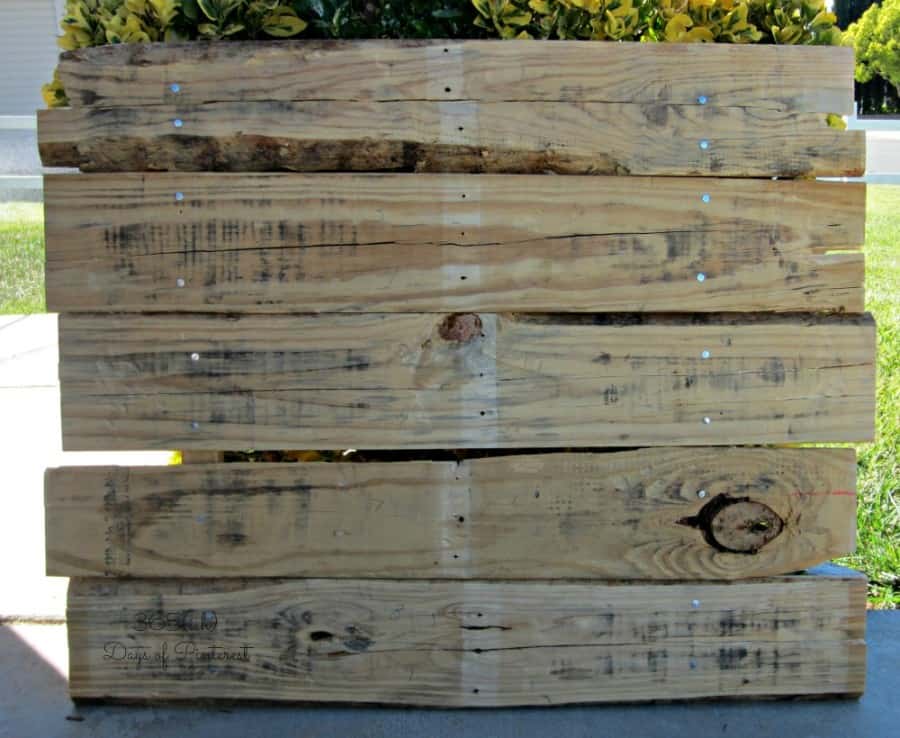
Ta Da! All put back together. I didn’t want the pieces to line up perfectly, so I let some ends hang over longer than others and left random space between the boards. I just love the top board- it still looks like the tree!
Now it’s time for sanding! I used a 60 grit sandpaper and just took off the rough edges and smoothed the front of the boards.
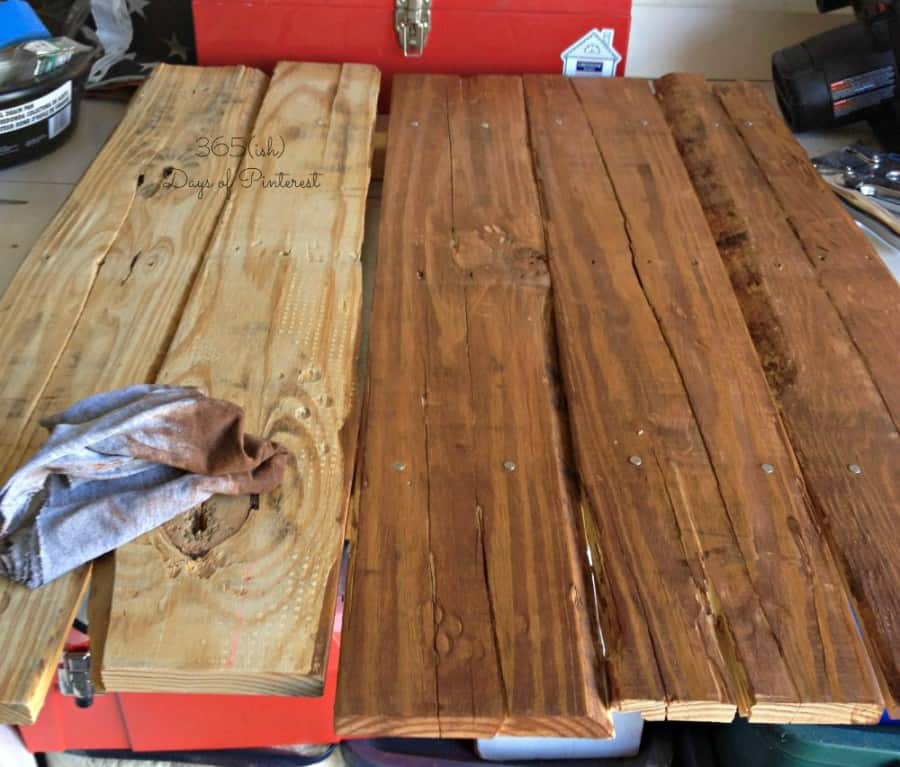
I’ve never stained anything in my life before, but with the first swipe of the rag, I was hooked. I love how easy it is and how beautiful it makes wood look! You can get a lovely color without covering up all those beautiful whorls and the wood grain! And a little goes a LONG way! I dipped the rag in the finish and then wiped it along the grain of each slat. This color is Pecan.
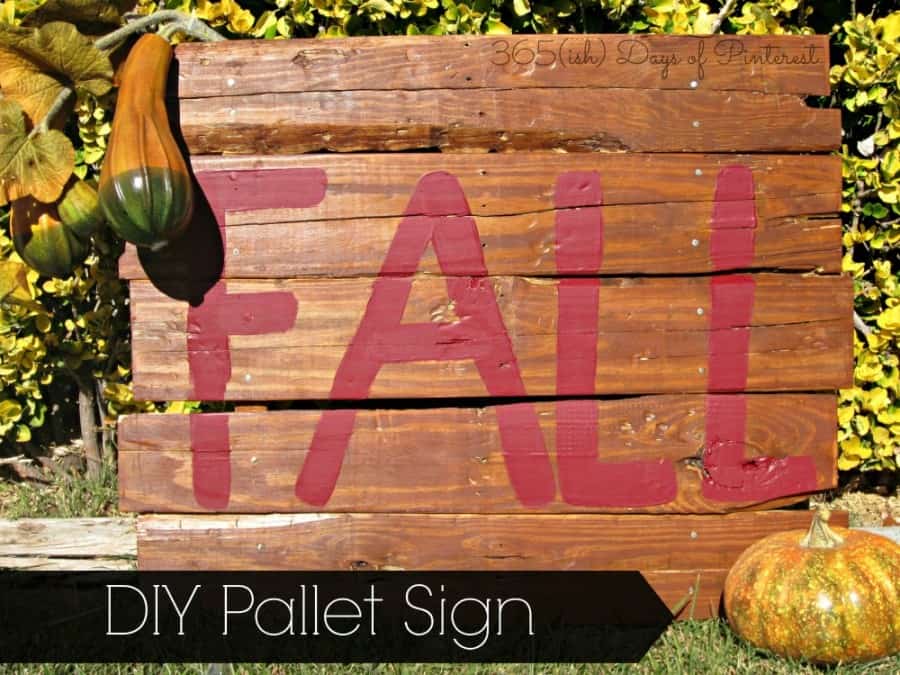
I think the hardest part of a pallet sign is the lettering. I searched fonts, wandered around Pinterest looking for ideas, and tried to figure out what I wanted. I never found anything that I really liked, and I couldn’t print anything large enough anyway. I kicked around the idea of using a projector, but I finally decided that I wanted a sign that looked like the ones you see on the side of the road advertising Apple Picking or Pumpkins for Sale. They are usually just made of leftover wood (probably from pallets) and look like someone grabbed a brush and started painting. So that’s what I did. I had some Cinnamon Apple colored paint leftover from my Desk Makeover DIY, so I used that and a 1″ paint brush and free-handed the word FALL. It doesn’t really get easier than that! I highly recommend the “rustic” look for your first project. It’s very forgiving. 🙂 Now it’s sitting on my mantel making me happy every time I look at it! 🙂
- Tex-Mex Casserole - February 17, 2026
- Rank Your Favorite Christmas Movies - December 10, 2025
- Hot Cocoa Spoons - September 22, 2025

Shawna says
Such a great idea. I could kick myself for getting rid of the mulch pallets! Visiting from Marvelous Mondays.
Shauna {The Best Blog Recipes} says
Now if I just had a pallet I’d be ready to make this 🙂 Love the tutorial Nicole! Pinned to my Craft Board 🙂
Shauna @ The Best Blog Recipes
Nicole Burkholder says
Thanks! I saw a big stack of them behind Lowe’s the other day, although most places now make you pay a deposit if you buy supplies on a pallet. Guess people are using reclaimed wood for all sorts of things!
nathan says
May I suggest outlining the letters in something darker to make them stand out better against the darker stain. I first read FAIL instead of FALL.
Nicole Burkholder says
I read it the same way a few times. I’ll have to figure out how to do that while still keeping the unfinished look.
Deb says
I love this project because it uses something that would normally fill the landfills. And, it is something that you’ll be able to bring out year after year. Great job! I’m inspired!–Deb (DialMforMoms)
Wendy says
Looks good!
Nicole Burkholder says
Thanks! And good for you for figuring out the commenting system 🙂
Nicole Burkholder says
I would LOVE to hit that 5 pound mark in this two week challenge! Doing my best. (and I love my red shoes, too) 😉